
Before a crew treats a no-flow or weak-flow complaint as a pump fault, it should confirm the intended operating state. Record the equipment tag, the operator's observation, the source condition, the valve lineup, and whether the unit was recently installed…
Direct Answer
Water transfer pump troubleshooting begins by confirming the approved startup condition, then tracing the source, suction side, pump, discharge path, and observed flow against the installed model documentation. This is a B2B project-review aid for contractors, engineers, distributors, operators, and procurement teams. It does not replace responsible engineering, site procedures, authorities, or the manufacturer documentation for the supplied equipment.
Part 1. Confirm the Startup Boundary
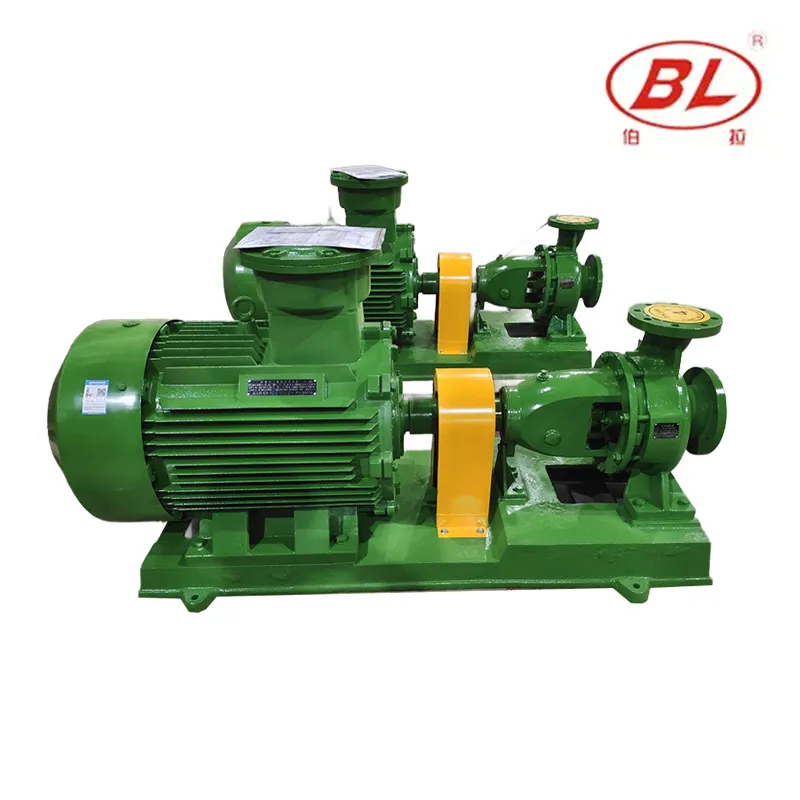
Before a crew treats a no-flow or weak-flow complaint as a pump fault, it should confirm the intended operating state. Record the equipment tag, the operator’s observation, the source condition, the valve lineup, and whether the unit was recently installed, moved, or returned to service. This separates a changed installation from a component problem and prevents repeated starts with an unknown water path.
Part 2. Check the Source and Suction Side
A transfer duty begins at the source. Review the liquid level, intake position, strainer condition, suction route, joints, supports, and any retained-liquid arrangement against the project drawings and the manual. Air leakage, a blocked intake, an altered hose route, or an unexpected source level can stop delivery even when the driver and impeller are turning. Do not replace parts until these controllable conditions are documented.
| Review area | Project question |
|---|---|
| Source and intake | Source level, intake position, strainer condition, and visible debris |
| Suction route | Joints, supports, hose or pipe route, and possible air-entry points |
| Discharge route | Valve lineup, restrictions, route changes, and destination condition |
| Records | Tag, observations, drawing references, manual revision, and exceptions |
Part 3. Trace the Delivery Path
Once water can reach the pump, trace the discharge line to its planned destination. Confirm isolation devices and hose or pipe routing are in the documented condition, then compare the observation with the delivery baseline recorded for the installation. A restriction, a displaced hose, or a changed destination elevation affects the system duty. The investigation should identify the changed condition rather than infer a universal flow value from sound or pressure alone.
Part 4. Review Startup Observations
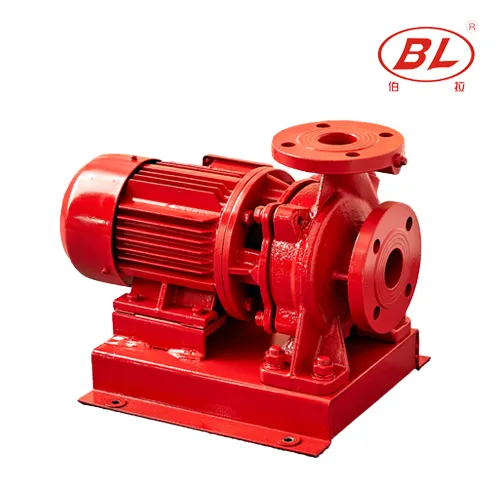
A repeatable startup review keeps evidence usable. Note whether the casing was prepared as the manufacturer requires, whether delivery establishes, and whether noise, vibration, leakage, or unstable flow differs from the baseline. Stop criteria and safe isolation remain the site’s procedures and the installed manual’s responsibility. A generic article cannot authorize operation, set a run time, or define a restart sequence for an unknown model.
| Review stage | Evidence to retain |
|---|---|
| Before review | Use the current drawing, manual, tag data, and responsible site procedure. |
| During review | Record observations and changed conditions without inventing values or limits. |
| When unclear | Log the question with project references and seek verified model-specific guidance. |
| At handover | File controlled records with the equipment and system documentation. |
Part 5. Separate Pump Findings from System Findings
A pump can be mechanically intact while the system around it has changed. Compare the current source, line route, liquid character, power supply, controls, and discharge arrangement with the approved or as-built record. If the duty has changed, route the case to the responsible project reviewer or supplier with photos, tags, drawing references, and observations. That package is more useful than a request to diagnose the issue from a symptom alone.
Part 6. Build a Useful Escalation Record
For recurring water transfer pump troubleshooting, create a concise exception record: date, operator, tag, source condition, valve lineup, suction and discharge observations, and the manual revision consulted. Attach any approved readings only when the procedure identifies them. This turns repeated calls into a trend review and supports a controlled discussion with BORRAPUMP about the documented duty and the specific equipment.
See the BORRAPUMP Water Transfer Pump guide for related resources, or contact BORRAPUMP with controlled project data for a package discussion.
Fit and Compliance Boundary
This article does not size equipment, certify a system, claim approval to any named standard, or set a pressure, flow, solids, or control value. Final selection, installation, operation, testing, and acceptance require current project documents, responsible professionals, applicable authorities, and verified manufacturer data for the exact equipment supplied.
FAQ
What should be checked first when a transfer pump will not deliver?
Confirm the source level, suction route, valve lineup, and the priming condition required by the installed model before diagnosing internal pump parts.
Can a pump be judged from noise alone?
No. Noise is an observation, not a diagnosis. Record it with the source, line, and startup conditions, then compare the case with the manufacturer documentation.
Why can flow change after a hose is moved?
A changed route can change losses, introduce trapped air, or restrict the line. Review the as-built route against the documented installation.
Should operators keep restarting a no-flow pump?
No. Follow the installed manual and site stop criteria. Repeated unverified starts can turn a system issue into equipment damage.
What information helps a supplier review a problem?
Provide the pump tag, duty description, source and discharge conditions, line arrangement, observations, photos, and the manual or drawing references used.
Does this article set operating limits?
No. Use the current manual for the installed equipment together with the responsible project’s operating requirements.