
Drip irrigation pump sizing requires the flow of the zones operating together and enough head to maintain the drip system’s specified inlet pressure after elevation and pipeline losses. Start with the emitter or drip-line manufacturer’s flow and pressure data, not a general pressure rule or the pump’s maximum advertised output. Add filtration, regulation and other equipment losses at the design flow, then check the proposed duty against the pump curve and the water source. This guide explains the inputs, a transparent planning example and the checks needed to keep both large and small operating zones within an acceptable range.
Begin at the emitter and work upstream
The irrigation hardware determines the delivery requirement. Record the drip-line model, emitter spacing, rated flow, permitted pressure range, lateral length and elevation profile. Pressure-compensating and non-compensating products can behave differently, so do not assume that every emitter delivers the same amount of water at every pressure. Use the specific product data and the approved field layout.
Penn State Extension’s drip irrigation guidance for vegetable production explains the relevance of emitter flow, spacing, filtration and pressure regulation. It supports starting with the irrigation component requirements. The published examples are not specifications for every tape or tube on the market; the selected component’s documentation remains necessary.
Separate crop water demand from instantaneous hydraulic demand. Crop planning determines how much water should be delivered over time. The pump must supply the flow and pressure required by the active zone arrangement. A daily volume alone does not identify the pump duty until the irrigation schedule and usable operating hours are known.
Calculate the flow of each permitted zone combination
For emitters with a stated design flow, multiply the number of operating emitters by that flow and convert the units consistently. Alternatively, use a drip tape’s documented flow per unit length and the active installed length. These are two different data conventions; do not multiply an emitter count by a per-length rating. Include any additional continuous demand that is genuinely simultaneous.
If valves operate one zone at a time, calculate each zone separately and identify the range. If multiple zones can run together, calculate the permitted combinations. A design based on the largest individual zone may be insufficient when two smaller zones operate together. Conversely, adding every zone can oversize the system when the control sequence never allows that combination.
Consider filter cleaning and flushing as specific operating modes. Establish whether they occur during irrigation or separately, and obtain the equipment’s requirements. Do not add an arbitrary percentage and assume every cleaning mode is covered. The control sequence must make the hydraulic assumptions true during actual operation.

Translate required pressure into pump head
Describe the route from the pump’s inlet reference to the most demanding active delivery point. For a water pump, the required added head accounts for elevation change, needed delivery pressure, inlet conditions and losses along that route. Include the mainline, fittings, valves, filters and pressure-regulating equipment using data at the intended operating flow.
Washington State University’s system pumping requirements calculator provides a framework for expressing pumping requirements as head. For water near ordinary irrigation conditions, one bar is approximately 10.2 meters of water head. Keep pressure and head units consistent and identify the reference points clearly.
If the pump draws from a well, use the pumping water level rather than the static level to establish the relevant lift. If it boosts an existing pressurized supply, use measured inlet conditions while the required flow is being delivered. A no-flow pressure measurement can conceal inadequate supply performance. These two arrangements need different input records.
A pressure regulator may need an inlet pressure above its desired outlet pressure and may have a restricted operating flow range. Obtain those requirements for the selected device. Adding the desired drip pressure alone does not necessarily provide enough upstream pressure for regulation, especially with a loaded filter or a high-elevation zone.
A hypothetical emitter-flow and head example
Suppose one zone has 4,000 emitters, each assigned a design flow of 2 liters per hour by its selected documentation. Its total is 8,000 liters per hour, or 8 cubic meters per hour. If two identical zones are allowed to operate together, the specified combined emitter flow is 16 cubic meters per hour. These invented values illustrate arithmetic only; they are not recommendations for a particular crop or product.
For a separate head example at the calculated design flow, assume an open source, a delivery point 6 meters higher, 12 meters of required delivery pressure head, and 9 meters of documented combined route and equipment loss. The planning total is 27 meters of added head. An inlet under pressure would change the balance. Do not add inlet pressure as another required loss; account for the energy already available at the inlet reference.
The loss estimate must match the operating combination. At a different flow, pipe and equipment losses change. It would be incorrect to calculate the two-zone flow and then reuse losses measured for one zone without checking them. Likewise, the minimum-flow zone needs a separate review for excess pressure, regulation and the pump’s permitted operating range.
Input checklist before requesting a pump
| Masukan | Record to provide | Why it affects selection |
|---|---|---|
| Emitter or tape data | Model, flow rating convention and permitted inlet-pressure range | Defines the downstream service the pump must support |
| Operating zones | Active length or emitter count and allowed combinations | Establishes minimum, maximum and intermediate demand |
| Source conditions | Operating water level or flowing inlet pressure and available supply | Defines the energy available and sustainable withdrawal |
| Route | Elevations, pipe lengths, internal diameters and fittings | Allows losses and the most demanding delivery point to be checked |
| Treatment and controls | Filter, regulator and valve requirements at each relevant flow | Prevents omitted losses or unsuitable operating modes |
| Acceptance checks | Specified flow and pressure measurement locations | Lets commissioning verify the promised irrigation service |
Provide actual component data where available and label assumptions where it is not. The supplier should return a reviewable duty selection, not simply recommend a horsepower. Resolve missing inputs before accepting a final quotation.
Check the pump across its operating range
Locate the required flow and head on the proposed pump curve. Maximum head usually describes a different operating condition from maximum flow. They cannot be combined as if both occur simultaneously. Confirm the pump can operate at the required duty with a suitable motor and within the manufacturer’s permitted range.
Review the smallest zone as well as the largest combination. A pump selected only for peak demand can supply excessive pressure or operate poorly when demand falls. Depending on the design, zoning, suitable speed control, staging or other approved arrangements may be appropriate. Each requires its own control and protection review rather than a generic instruction to throttle the discharge.
Itu irrigation booster sizing guide addresses the broader inlet-to-delivery energy balance. This article adds the drip-specific emitter count, zone sequencing and regulation inputs. For a well-fed installation, the deep well irrigation selection guide addresses the source and submersible duty separately.

Match the proposed product to the water and controls
Itu BorraPumps booster and regulator product page can support an inquiry about a clean-water pressure system. Confirm the exact assembly’s operating range, materials, controls and agricultural suitability. Its photograph does not establish emitter compatibility, required filtration or an approved fertigation arrangement.
Describe water quality, sediment risk and any chemical injection. Filtration downstream may protect emitters but does not necessarily protect a pump upstream from unsuitable source water. Obtain the allowable water conditions for the selected pump. Check any required contamination-protection arrangement with the responsible designer and authority.
For installation and handover planning, use the irrigation booster startup checklist. Keep selection, installation and acceptance records together so a later operator can distinguish a changed irrigation layout from a pump fault. A new zone or different tape can change demand even when the pump has not changed.
Verify actual delivery after installation
Measure flow and pressures at the agreed locations with representative zones running. Include the challenging combinations, not only an easy zone near the pump. Record inlet conditions, filter condition and regulator performance alongside the readings. A pressure gauge at the pump alone cannot show that the distant drip lines receive their required service.
Compare results with the design and selected component limits. Investigate low delivery, unstable control or excessive pressure before routine operation. Qualified personnel should carry out electrical adjustments and intrusive maintenance using approved isolation procedures. Do not compensate for an unexplained pressure problem by repeatedly changing control settings without measurements.
The following Practical Engineering video explains the relationship between pressure and flow. It is useful background for reading the duty calculation and pump curve, but it does not supply emitter-specific pressure settings.
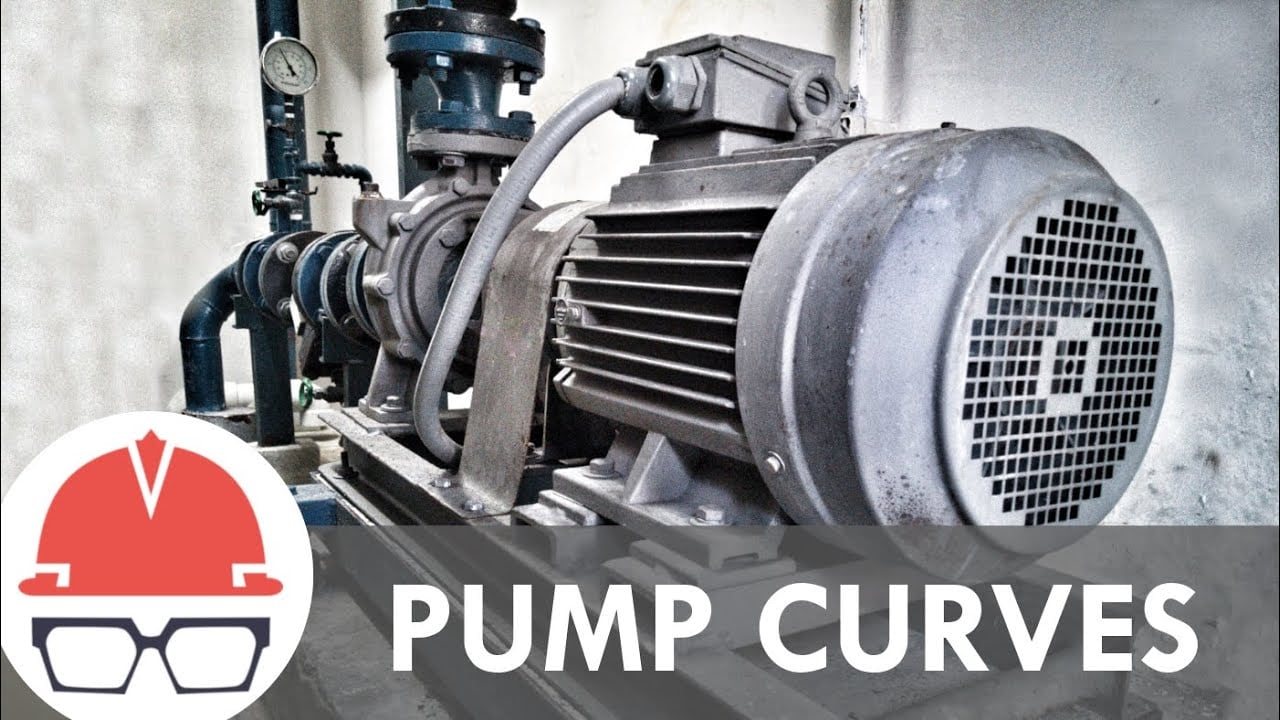
Watch the pressure and flow explanation.
Pertanyaan yang sering diajukan
What pressure should every drip irrigation pump provide?
There is no universal setting. Use the selected drip components’ requirements, then account for regulation, elevation and losses at the design flow.
How do I calculate emitter flow?
Multiply the operating emitter count by the documented design flow per emitter. If tape is rated by length, use the active length and that rating instead.
Should all zones be added together?
Only add zones permitted to operate simultaneously. Also review each smaller operating combination for pressure control and pump operating limits.
Is motor horsepower enough to choose a pump?
No. Specify flow and head, verify the pump curve and operating range, and confirm motor, source, controls and water suitability.
What should commissioning demonstrate?
It should verify the specified flow and pressures with representative zones, source conditions, filtration and regulation, including both demanding and low-flow operating modes.