
Pump impeller shroud inspection checks the side surfaces of an impeller for deposits, cracking, contact damage and material loss while preserving the evidence needed for a repair decision. Identify the impeller design and its stationary partners, photograph the as-found condition, then inspect and measure using the model’s approved requirements. A polished ring, a rough patch or a worn edge does not by itself establish the cause or an acceptable repair. This guide helps organize the inspection and handover. It does not prescribe a universal remaining thickness, machining allowance, balance grade or weld repair for Borra products.
Confirm which surfaces the impeller actually has
An impeller’s shroud arrangement depends on its design. Do not assume that an open, semi-open and closed impeller present identical surfaces or inspection access. Use the sectional drawing, part number and actual component to identify the hub, shroud or sideplate surfaces, passages, wear surfaces and nearby stationary parts. Mark the orientation and reference features on a photograph before the component loses its place in the disassembly sequence.
Itu EPRI pump refurbishment specification includes sideplate condition and impeller-to-diffuser contact among model-specific inspection considerations. It supports treating side surfaces as a defined inspection area alongside vanes and fits. Its numerical criteria and repair processes cannot be assigned to a different pump without the appropriate engineering basis.
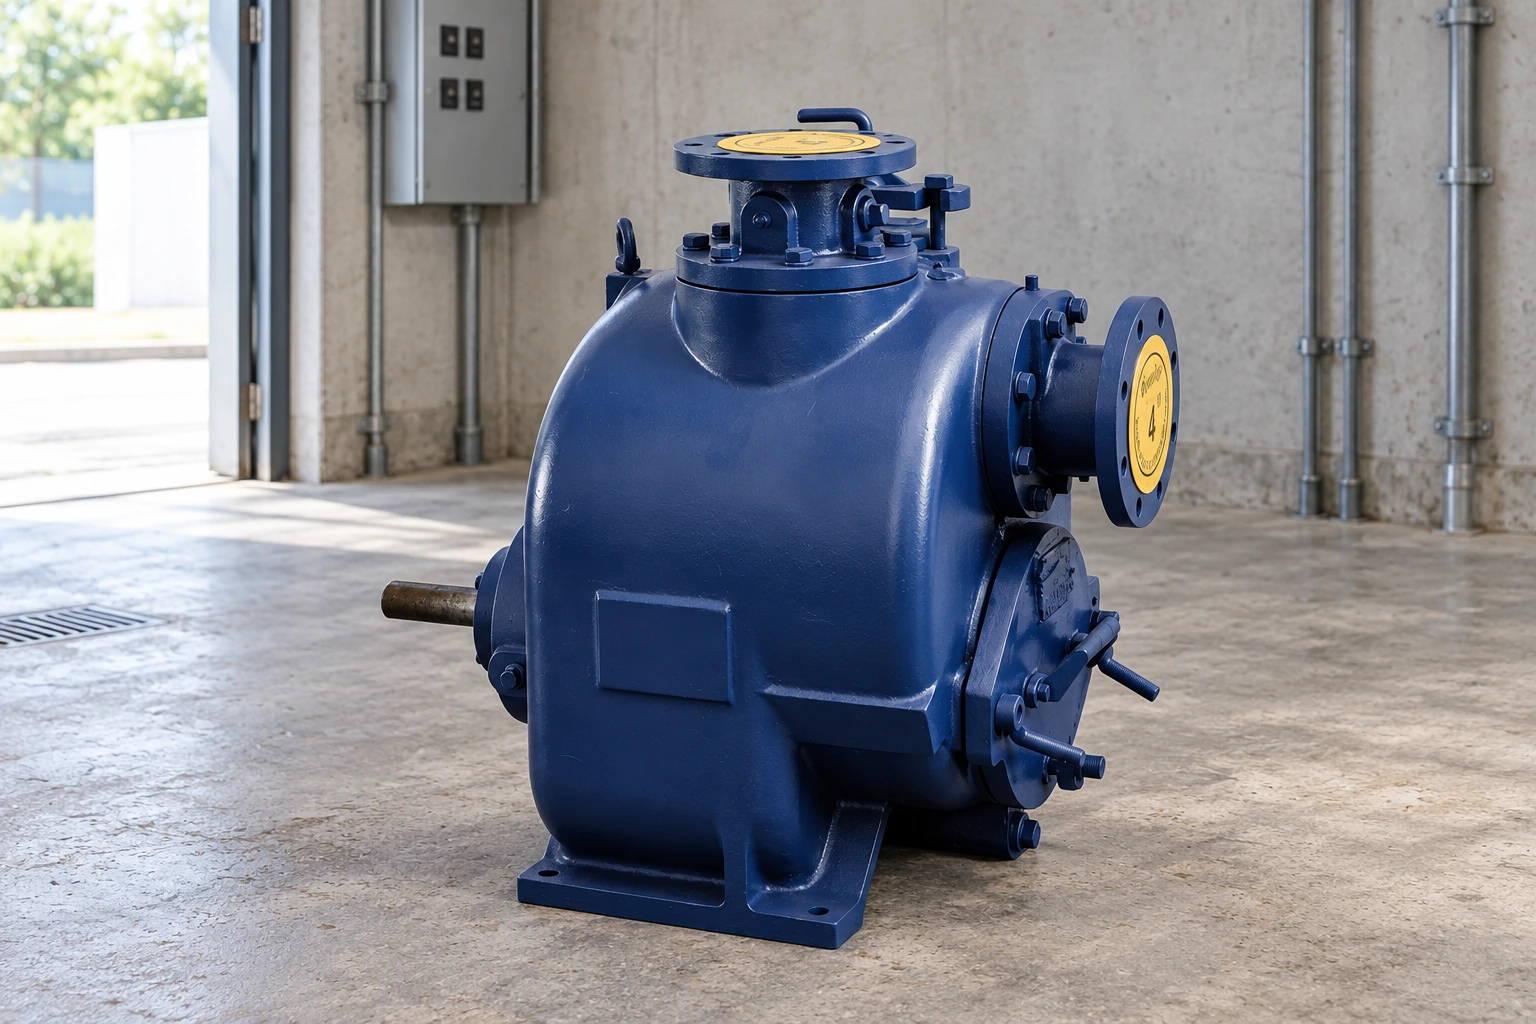
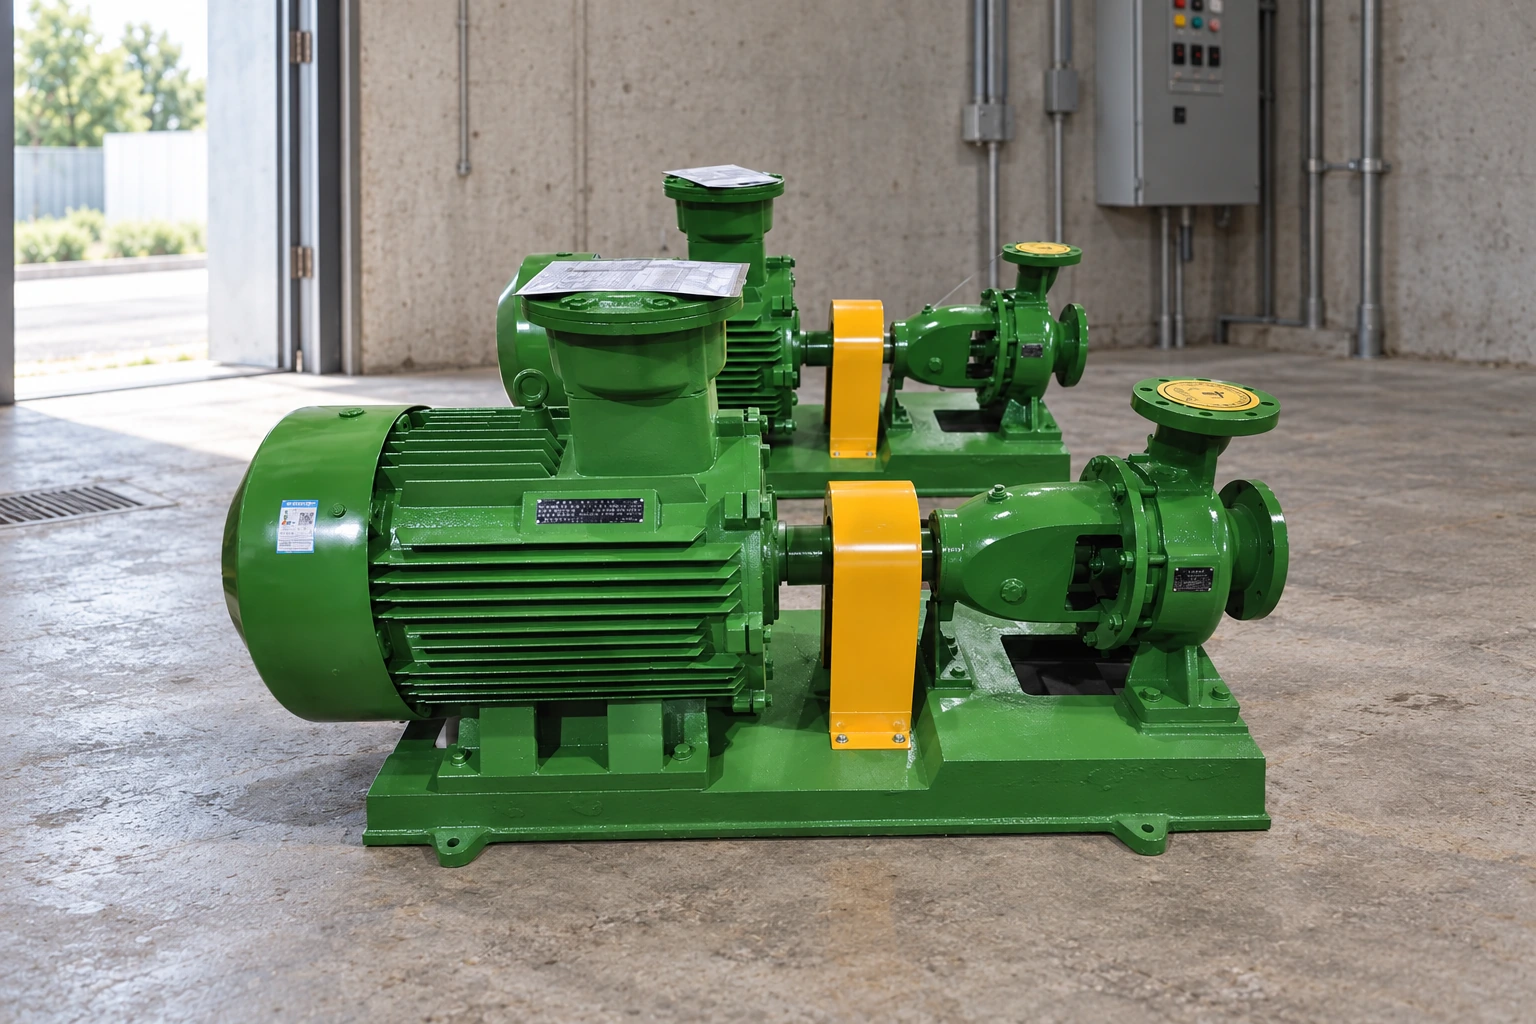
For a water-transfer product context, review Borra’s halaman pompa sentrifugal air bersih. Product photographs in this article show external pump designs. They do not reveal a particular internal shroud configuration, material or clearance, and they are not evidence of the damage mechanisms discussed below.
Capture the operating and disassembly context
Collect the pump identity, impeller identification, service liquid and relevant operating history. Where available, retain measurements of flow, differential pressure, speed and vibration with their dates and measurement conditions. Ask about changes in duty, solids, starts, dry-running incidents, blockages and recent maintenance. These are investigation leads, not proof that any one event caused a shroud defect.
Before disassembly, follow the site’s approved isolation, drainage, decontamination and lifting procedures. Residual pressure, hot liquid, hazardous substances and stored mechanical energy must be addressed as applicable. The HSE pressure-systems safety guidance discusses pressure-equipment risks and general safety precautions. The actual work method must reflect the pump, liquid, installation and local controls.
Keep matched components and location labels together. Record which stationary surface faced each shroud area. If parts are stacked without stage identification, a later contact investigation may no longer be able to pair the marks. Photograph deposits and damage before cleaning, with enough wider views to locate the close-up images on the complete impeller.
Inspect deposits and surface patterns before removing evidence
Document the coverage and character of deposits rather than describing everything as dirt. Record whether material is loose or adherent, uniform or localized, and whether it bridges a passage or covers a damaged region. Preserve samples when the investigation requires identification. Do not infer chemical composition, corrosion type or liquid quality from color alone.
After the approved cleaning process, compare the exposed surface with the as-found record. Note pits, grooves, rubbed areas, dents and discontinuities using clear location references. Record observations in neutral language first. For example, describe a circumferential polished band and its width before calling it a rubbing failure. The proposed mechanism belongs in a separate assessment supported by the partner surface and assembly evidence.
Avoid cleaning methods that unintentionally change profile, remove protective coatings or round a critical edge. Where the selected method can affect dimensions or finish, obtain approval and document the initial condition. A part that looks smoother after aggressive cleaning may have lost the very evidence needed to explain its service condition.
Compare each damaged area with its stationary partner
A contact mark is more informative when the opposing component is available. Locate matching marks on the casing, liner, diffuser or other actual partner. Compare their position, extent and direction with the drawing and assembly orientation. If only one component is inspected, state that limitation rather than declaring the mating pair satisfactory.
Check for trapped debris, displaced hardware and relevant locating damage. Review assembly records if a mark appears after recent work. The investigation may need to consider component location and the complete rotor arrangement, but a contact pattern alone cannot establish whether the initiating cause was assembly, operation or a part defect. Preserve evidence before making that distinction.
| Shroud finding | Bukti yang harus disimpan | Next inspection question |
|---|---|---|
| Circumferential polished band | Position, width and matching stationary-surface marks | What geometry or movement allowed the surfaces to approach? |
| Local dent or impact mark | Full component view, close-up and retained foreign material | Is adjacent material or a passage also damaged? |
| Pitted or roughened region | Location map and pre-cleaning photographs | Which mechanism is supported by the service and surface evidence? |
| Apparent crack or linear indication | Location and approved examination report | Does the indication require replacement or an engineered disposition? |
| Uneven material loss | Defined thickness or profile readings where required | Is the remaining component within its approved geometry? |
| Uncertain previous dressing | Tool marks, earlier repair documents and dimensions | Was material removed under an approved process? |
This table organizes observations. It does not set allowable damage or authorize continued service.
cURL Too many subrequests by single Worker invocation. To configure this limit, refer to https://developers.cloudflare.com/workers/wrangler/configuration/#limits
cURL Too many subrequests by single Worker invocation. To configure this limit, refer to https://developers.cloudflare.com/workers/wrangler/configuration/#limits.
cURL Too many subrequests by single Worker invocation. To configure this limit, refer to https://developers.cloudflare.com/workers/wrangler/configuration/#limits.
cURL Too many subrequests by single Worker invocation. To configure this limit, refer to https://developers.cloudflare.com/workers/wrangler/configuration/#limits panduan inspeksi kunci poros cURL Too many subrequests by single Worker invocation. To configure this limit, refer to https://developers.cloudflare.com/workers/wrangler/configuration/#limits.
cURL Too many subrequests by single Worker invocation. To configure this limit, refer to https://developers.cloudflare.com/workers/wrangler/configuration/#limits
cURL Too many subrequests by single Worker invocation. To configure this limit, refer to https://developers.cloudflare.com/workers/wrangler/configuration/#limits.
cURL Too many subrequests by single Worker invocation. To configure this limit, refer to https://developers.cloudflare.com/workers/wrangler/configuration/#limits impeller vane crack inspection guide cURL Too many subrequests by single Worker invocation. To configure this limit, refer to https://developers.cloudflare.com/workers/wrangler/configuration/#limits.
If an indication needs further evaluation, protect the component and obtain a disposition before blending or machining it. Removing a visible feature without recording and assessing it can make later acceptance harder, even when the repaired area looks clean.
Define the repair decision before removing metal
Possible dispositions include reuse under the specified criteria, an approved repair, replacement or further investigation. The correct choice depends on material, geometry, service and the available engineering basis. Do not assume that all impellers can be welded, coated, ground or straightened. A process suitable for one alloy and design may be unsuitable for another.
A repair instruction should identify the affected region, approved process, dimensional restoration, required examination and final acceptance. State whether the work requires additional balance verification and other checks under the applicable specification. Do not offer an arbitrary grinding amount or universal balance requirement when the drawing and repair scope have not been established.
Consider the complete component and its partners before ordering replacement. Provide the actual part number and revision, mating dimensions and relevant assembly identification. A visually similar impeller can differ in hydraulic geometry, attachment and material. A supplier should confirm compatibility from the required documents rather than from an exterior photograph alone.
Use the broader centrifugal pump inspection report guide to keep this component record connected to the complete overhaul.
Close the inspection with assembly and service records
The final inspection package should retain as-found photographs, a location map, measurements, examination reports, the approved disposition and evidence of completed work. Separate the original damage from the post-repair condition. If a component is accepted under a concession, identify the concession and any associated operating or inspection conditions.
Before assembly, check that the specified inspections are closed and all parts are identified and clean. Follow the approved assembly checks and commissioning plan. Retain a useful operating baseline after return to service. Changed performance may prompt further investigation, but it cannot retrospectively prove that an unmeasured shroud was acceptable.
The accompanying Practical Engineering video explains the relationship between pump flow and pressure. It offers background for understanding the operating observations collected during an overhaul, not a shroud inspection procedure. Use those observations alongside the physical component evidence and model-specific requirements.
Pertanyaan yang sering diajukan
Does a polished shroud band prove continuous rubbing?
It records contact-like surface evidence, but the cause and timing require comparison with the partner surface, assembly condition and service history. Describe the observation before assigning a failure mechanism.
Can every impeller shroud be repaired by welding?
No. Material, geometry, service and the approved repair specification determine whether welding or another restoration process is permitted. Obtain an engineered disposition before work begins.
What is the minimum acceptable shroud thickness?
Use the relevant drawing or approved repair criteria. This guide supplies no universal minimum, and an adjacent surface should not automatically be treated as the original design reference.
Is visual inspection enough to clear a suspected crack?
Not when the approved scope requires further examination. Use a suitable procedure with qualified personnel and retain its coverage, findings and disposition with the component record.
Should the stationary parts be inspected too?
Yes, where accessible and included in the scope. Matched observations help explain contact and geometry. If the mating component is unavailable, document that limitation in the inspection report.