Restart a self-priming pump after long-term storage by checking the water source and pipe route, inspecting the motor and pump externally, restoring every drain and valve, verifying that the casing contains the required priming liquid, and starting under a controlled flow condition. A pump stored dry can be protected from freezing yet damaged within minutes if its automatic control restarts it before the casing is filled. The first run should confirm continuous flow, suction and discharge pressure, leakage, vibration, current, and protection alarms against a previous baseline. Do not treat a motor that turns as proof that the pump is ready; a wrong valve position, air leak, stuck check valve, blocked intake, or damaged seal can still stop delivery.
Retrieve the storage record before touching the unit
Find the shutdown checklist, model and serial information, removed drain plugs, hose labels, previous flow and pressure readings, and any unresolved fault from the last season. If no record exists, walk the complete system from source to discharge and document the as-found condition. A pump may have been stored because it failed, not merely because the season ended. Do not energize an unknown machine before identifying the reason it was shut down.
Itu Pompa air listrik bor sentrifugal self-priming BorraPumps is the site product reference. Its teal casing, red coupling, teal motor and base are visible, but the image does not identify every fill point, seal, bearing, or control. Obtain the exact model’s start-up instructions and electrical data. The water-supply booster range provides related applications but does not replace the machine manual.
Make the site and water source ready
Check that the source has sufficient water at the lowest expected operating level and that the intake is clean, submerged, and secure. Remove sediment or animal nests from the intake area safely. Inspect the suction hose or pipe for cracks, loose joints, collapse damage, and high points that trap air. Confirm the discharge route is open to a safe destination and that any filter or backflow device is installed in its intended orientation. If the water quality changed during storage, verify that the pump and seal remain compatible.
The University of Georgia Extension’s drip-irrigation startup checklist recommends checking the source, power unit, pump, filters, gauges, valves and distribution system before use. Oregon State University Extension’s irrigation system inspection guide also highlights intake, motor, electrical and pipe inspection. Adapt those system checks to the exact self-priming installation rather than copying a drip-irrigation pressure value.
Inspect the pump and driver while isolated
Lock out and verify electrical power before inspection. Look for corrosion, impact damage, loose base bolts, missing guards, cracked conduit, damaged cable insulation, rodent activity, water in the motor junction area, and signs of previous leakage. Qualified personnel should verify electrical insulation and protection as required; a visual inspection cannot prove the motor safe. Check that the pump shaft turns by the approved method if the manual calls for it. Do not use the coupling to force a seized rotor.
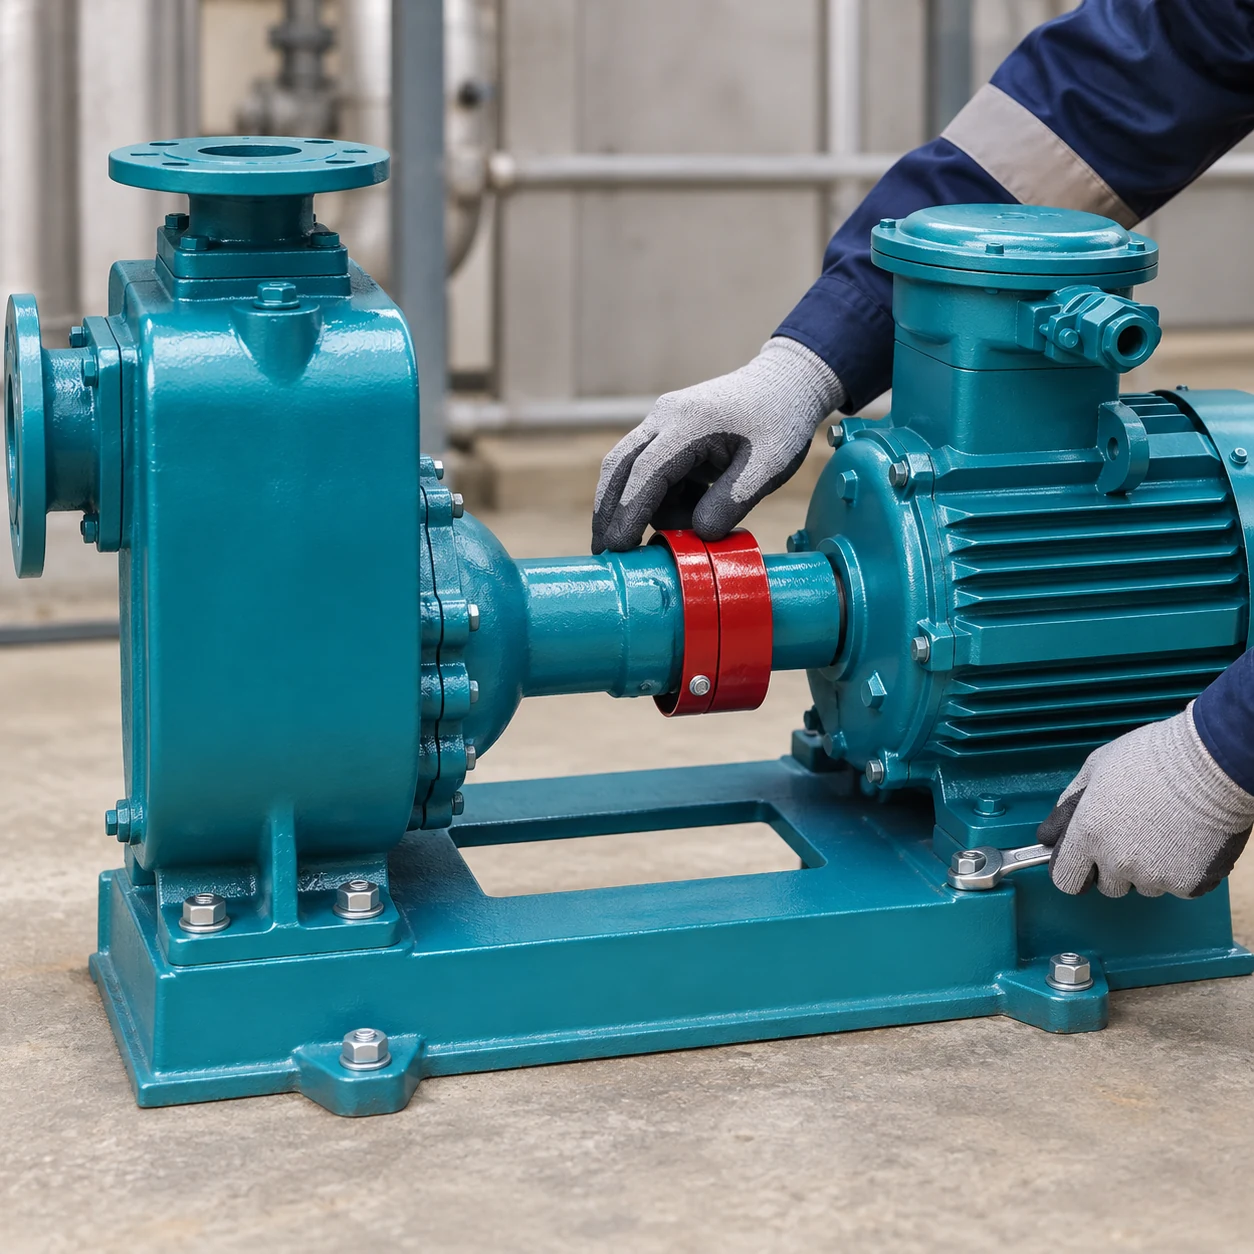
Inspect casing covers, drain and vent plugs, gaskets, suction and discharge flanges, and the seal area. Replace damaged seals with documented parts rather than tightening every fastener indiscriminately. Confirm external pipe supports have not shifted. A hose that was disconnected for winter must be reconnected at the correct port and supported independently of the pump nozzle. The winterization guide explains why drains and hoses may be left disconnected at shutdown.
| Before-start item | Required observation | Stop and correct if |
|---|---|---|
| Sumber dan asupan | Adequate level, clear screen, no air vortex | Source low, blocked or intake exposed |
| Suction line | Airtight joints, correct route, sound hose | Cracks, loose flange or collapsed hose |
| Casing and drains | All plugs restored; required prime liquid filled | Drain open or casing empty |
| Discharge path | Valves and check valve in intended lineup | Closed route or unsafe discharge |
| Motor and coupling | Guard installed, wiring and base sound | Exposed parts, damage or abnormal resistance |
| Gauges and alarms | Instruments legible; protection ready | Failed sensor or disabled dry-run alarm |
| Trial run | Stable flow, pressure and leakage | No prime, excessive noise or overheating |
The checklist is a sequence for inspection, not a claim that the pictured pump has a particular control or drain configuration. The exact product manual and site procedure govern.
Restore the self-priming liquid deliberately
Locate the specified fill and vent points and follow the maker’s procedure to place the required liquid in the casing. “Self-priming” usually describes the ability to evacuate air from the suction line after the casing has its necessary initial liquid. It does not authorize a dry first start. A drain plug removed for winter must be reinstalled before filling. After filling, inspect for leaks at plugs, covers, and flanges. Keep the fill record with the restart log so an automatic controller is not enabled prematurely.
Itu how-to-prime guide covers the fill sequence, while the lost-prime guide explains what to check if liquid disappears during shutdown. The Hydraulic Institute’s low-pressure startup discussion notes that a centrifugal pump must be primed or arranged to stay full to develop pressure.
Confirm valves, rotation, and controls
Walk the suction and discharge lineup with the drawing. Verify isolation valves, check-valve orientation, filter covers, bypasses, and drains. A valve left closed after winterizing can cause overheating or no flow. A missing suction strainer can allow debris into the pump; a blocked one can starve it. Check whether the control system will start immediately when power is restored, and keep it in a safe manual state until the operator is ready.
After electrical work, qualified personnel should verify rotation by the approved method. Wrong rotation can produce low flow and pressure while the motor still runs. Test low-level, failed-prime, overcurrent, and high-pressure protection where fitted. Do not defeat an alarm to obtain a successful trial run. If the system has multiple pumps, confirm lead/lag selection and standby availability before returning automatic operation.
Run a controlled first start
Start with an open, safe discharge route and the correct source level. Time the interval until continuous liquid flow and stable pressure develop. A brief spurt of retained casing water is not proof of prime. Stop at the manufacturer’s maximum priming interval if flow does not establish. Observe the seal, joints, vibration, noise, motor current, and temperature. Compare suction and discharge readings with the previous baseline and with the pump curve at the actual flow.

The US Department of Energy’s pumping-system maintenance tip sheet supports routine checks for leakage, bearings, alignment, and performance. After a long idle period, these observations should be recorded more closely during the first run. Do not adjust the pressure control to hide a blocked line or air leak.
Test after the pump has warmed and after a restart
Run long enough to reach a representative normal operating condition, then recheck leakage, pressure, flow, current, vibration and temperature. Stop and inspect for fluid tracking at the seal or flanges. Restart after a defined interval to confirm that prime is retained and controls operate as intended. A pump that works once after manual filling but fails the next morning still has a drainback or air-ingress problem.
If a filter has been cleaned or a pipe replaced, the system curve may differ from the previous season. Record new measurements rather than assuming the old setpoint remains optimal. The suction-pipe sizing guide helps investigate changed inlet behavior. Do not put a pump into unattended service until the first stop-and-restart sequence is satisfactory.
Troubleshoot an unsuccessful restart systematically
No flow may result from an empty casing, closed suction or discharge valve, wrong rotation, air leak, blocked intake, stuck check valve, collapsed hose, worn internal parts, or an inadequate source. Use observed pressure, sound, and liquid level to narrow the cause. A hot casing or seal after a short run calls for immediate shutdown. Do not keep restarting the motor while changing random control settings. If the pump was exposed to freezing, inspect for cracks that appear only when pressure rises.
Document each corrective action and repeat the same test after repair. If an external part was changed, verify it matches the maker’s material and pressure limits. If the pump cannot meet its previous flow and head with a clean source and correct rotation, compare its condition with the exact curve and seek a service assessment before increasing engine or motor size.
Hand the system back with a usable record
Record the model, date, personnel, source level, valve lineup, fill action, first-start and restart times, flow, suction and discharge pressure, current, leakage, vibration, alarms tested, and any repairs. Keep photographs of the final hose and valve arrangement. Mark the system back in service only after the operator understands any remaining limitations. A short record today saves repeated diagnosis at the next seasonal restart.
Pertanyaan yang sering diajukan
Can I restart a self-priming pump directly after dry storage?
Not until the manufacturer-required liquid is restored to the casing and the source, valves, motor, and piping are checked.
Why does the motor run but no water arrives?
The pump may be unprimed, the source or intake blocked, a valve closed, rotation wrong, or a suction joint admitting air. Stop and diagnose within the maker’s limit.
Should I test only the first start?
No. Also test stable flow after warm-up and a restart after a shutdown interval, because drainback can appear later.
What information should go in the restart log?
Record source level, valve lineup, casing fill, priming time, flow, pressures, current, leakage, vibration, protection tests, and repairs.
Pembelajaran lebih lanjut
The Texas Commission on Environmental Quality’s Take Care of Texas program offers Preparing Your Irrigation System for Spring. Its system-level restart reminders complement the pump-specific fill and safety procedure in the BorraPumps manual.