Self-priming pump mechanical seal failure often starts with a missing liquid film, abrasive particles, excessive heat, shaft movement, or an installation error. A self-priming pump can clear air from its suction line only within its approved priming interval and with the required liquid retained in the casing; repeated dry starts can damage seal faces. Before replacing a leaking seal, identify the first wet point, record when leakage began, inspect the suction route and source level, and compare the pump’s flow and pressure with its intended duty. A replacement seal installed into the same dry, gritty, vibrating, or overheated condition is likely to fail again. Follow the exact model’s isolation, parts, and commissioning instructions.
Confirm that the seal is the leak source
Water or process liquid at the base of a pump can come from a casing gasket, flange, vent, drain, cracked pipe, or condensation rather than the mechanical seal. Clean and dry external surfaces after safe isolation, then observe from a protected position during a controlled run. Trace the first wet point toward the shaft entry rather than diagnosing from the puddle. Record whether leakage occurs only when running, only after stopping, or under high discharge pressure. These patterns help distinguish seal leakage from a nearby connection.
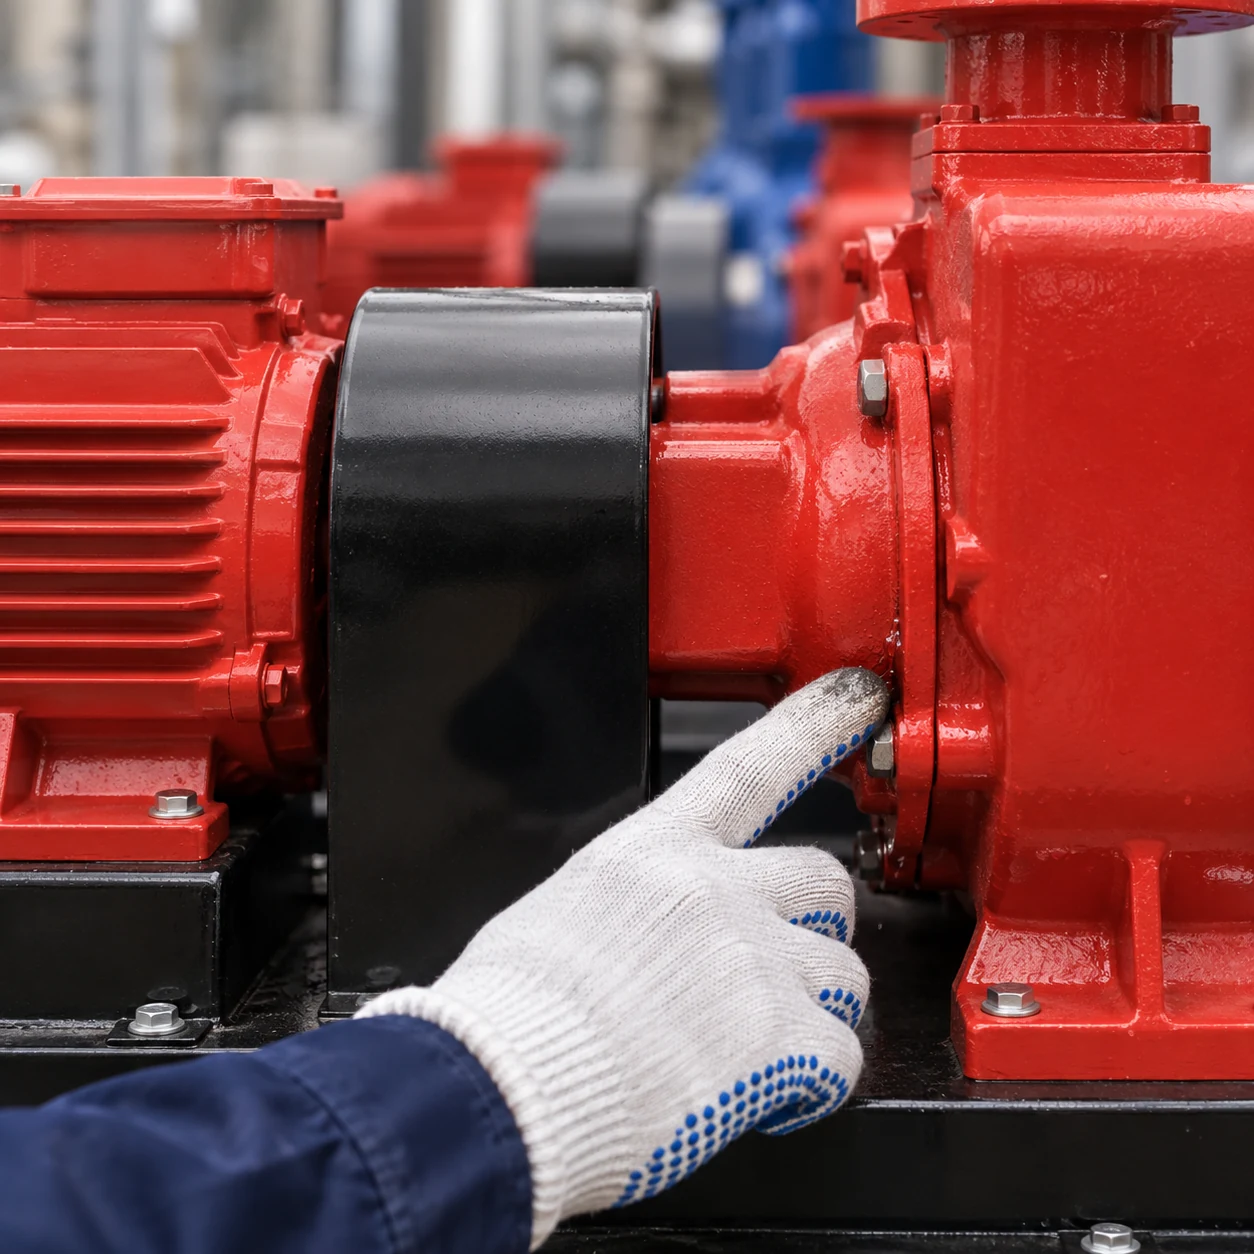
ال BorraPumps ZW non-clogging self-priming sewage pump is a real product reference. Its red casing, horizontal motor, and black base are visible, but the image does not identify the installed seal type, face materials, or flush arrangement. Obtain the exact model’s parts and service manual. The مجموعة صمامات الصرف shows related applications but does not override model-specific limits.
Protect people and equipment before disassembly
Lock out the driver, isolate suction and discharge, release trapped pressure, and drain the casing into appropriate containment. Allow hot liquid to cool. Sewage or contaminated water calls for suitable hygiene and disposal procedures. Do not remove a seal housing from a pressurized pump, and do not open a live motor or starter to investigate a water leak. Confirm the backup pumping route before isolating a unit that controls a critical sump.
Photograph the installed condition and record valve positions, motor rotation direction, leak location, and recent operating history. Keep removed seal parts available for inspection. A clean failure surface versus a scored, heat-discolored, or grit-laden one can guide the diagnosis, but damage patterns are not proof without operating evidence. The US Department of Energy’s pump maintenance sourcebook explains that seals and bearings are maintenance items and that contamination or poor operating conditions can shorten their lives.
Dry running during priming
A self-priming centrifugal pump typically needs retained liquid in its casing. If it is drained after service or loses that liquid through a leaking plug or valve, a start can expose the seal to dry friction. A long, air-filled suction hose, excessive lift, or air leak can extend the interval before useful water reaches the pump. A controller that restarts repeatedly after low pressure can cause cumulative damage. Do not assume the word “self-priming” authorizes an empty-casing start.
ال lost-prime-after-shutdown guide provides a focused drainback diagnosis. Check whether the casing still contains the required fill at the next start, whether the suction line empties overnight, and whether the source inlet remains submerged. The priming-time guide explains why the exact time depends on lift and pipe air volume. If the pump fails to prime within the maker’s limit, stop rather than waiting for water indefinitely.
For a controlled investigation, compare three conditions: the first start after filling, a restart a few minutes later, and a restart after the normal overnight stop. Record casing liquid level and source level before each start, plus the time to stable discharge. If the first two starts succeed but the overnight start fails, look for gradual drainback through a valve, hose or casing connection. If every start is slow, review suction lift, pipe air volume and the pump’s air-handling condition. This sequence gives a seal supplier evidence about exposure to dry starts and prevents a replacement from being treated as a cure for an unresolved suction fault.
Grit, solids, and unsuitable liquid
Hard particles can score seal faces or obstruct a flush path. Fibers may wrap around rotating parts; abrasive silt may reach places not protected by a large debris screen. The presence of solids does not mean every visible leak is a seal failure, but it changes the material and protection required. Ask the supplier for the allowed solids size and concentration, face materials, elastomers, seal environment, and wear-part plan for the exact duty. A seal selected for clean water may not survive a muddy sump.
The Hydraulic Institute’s pump FAQs direct users to condition monitoring and seal-selection guidance. Its slurry pump standard overview highlights how abrasive mixtures can shorten pump life. The muddy-water self-priming selection guide examines the wider solids and wear duty. Use the mixture data and the maker’s material chart rather than choosing a seal by appearance.
| دليل الفشل | Possible mechanism | Check before replacing |
|---|---|---|
| Seal leaks soon after an empty-casing start | Dry faces or thermal damage | Casing fill, priming interval, source and alarms |
| Grit visible near shaft or seal | Abrasion or blocked flush | Solids sample and seal environment |
| Leakage grows with vibration | Bearing, shaft, pipe strain, cavitation | Vibration, alignment and suction pressure |
| New seal fails quickly | Wrong material or assembly issue | Part number, face cleanliness, sleeve condition |
| Leak appears after repeated cycling | Heat and pressure transients | Start count and control sequence |
| Water originates above seal chamber | Flange, vent, pipe or condensation | Trace first wet point |
These clues narrow the investigation but do not replace measurement or maker instructions. A seal failure can have more than one contributing cause.
Shaft condition, bearings, and pipe strain
Inspect the shaft or sleeve for scoring, corrosion, eccentricity, and deposits within the manufacturer’s tolerances. A new seal on a damaged sleeve may leak immediately. Check bearings for noise, looseness, and heat; confirm that pipe supports do not pull the casing out of alignment. A flexible connector cannot compensate for a badly supported line. Record vibration at normal duty if instruments are available and compare with earlier values.
Cavitation and operation far from the pump’s useful region can create forces and temperature changes that affect seal life. Compare measured suction and discharge pressure with the selected curve. Check a blocked strainer, closed valve, changing source level, or wrong motor rotation before deciding the pump itself is defective. The self-priming cavitation checklist helps separate suction problems from mechanical ones.
Installation and material errors
Seal faces are precisely finished and can be damaged by contamination or incorrect handling. Verify face pairing, elastomer compatibility, spring orientation, setting length, tightening sequence, and any flush or venting requirement from the exact service manual. Do not reuse damaged O-rings or assume a visually similar cartridge has the same operating limits. If an installed seal was recently replaced, compare its part number and installation record with the original specification.
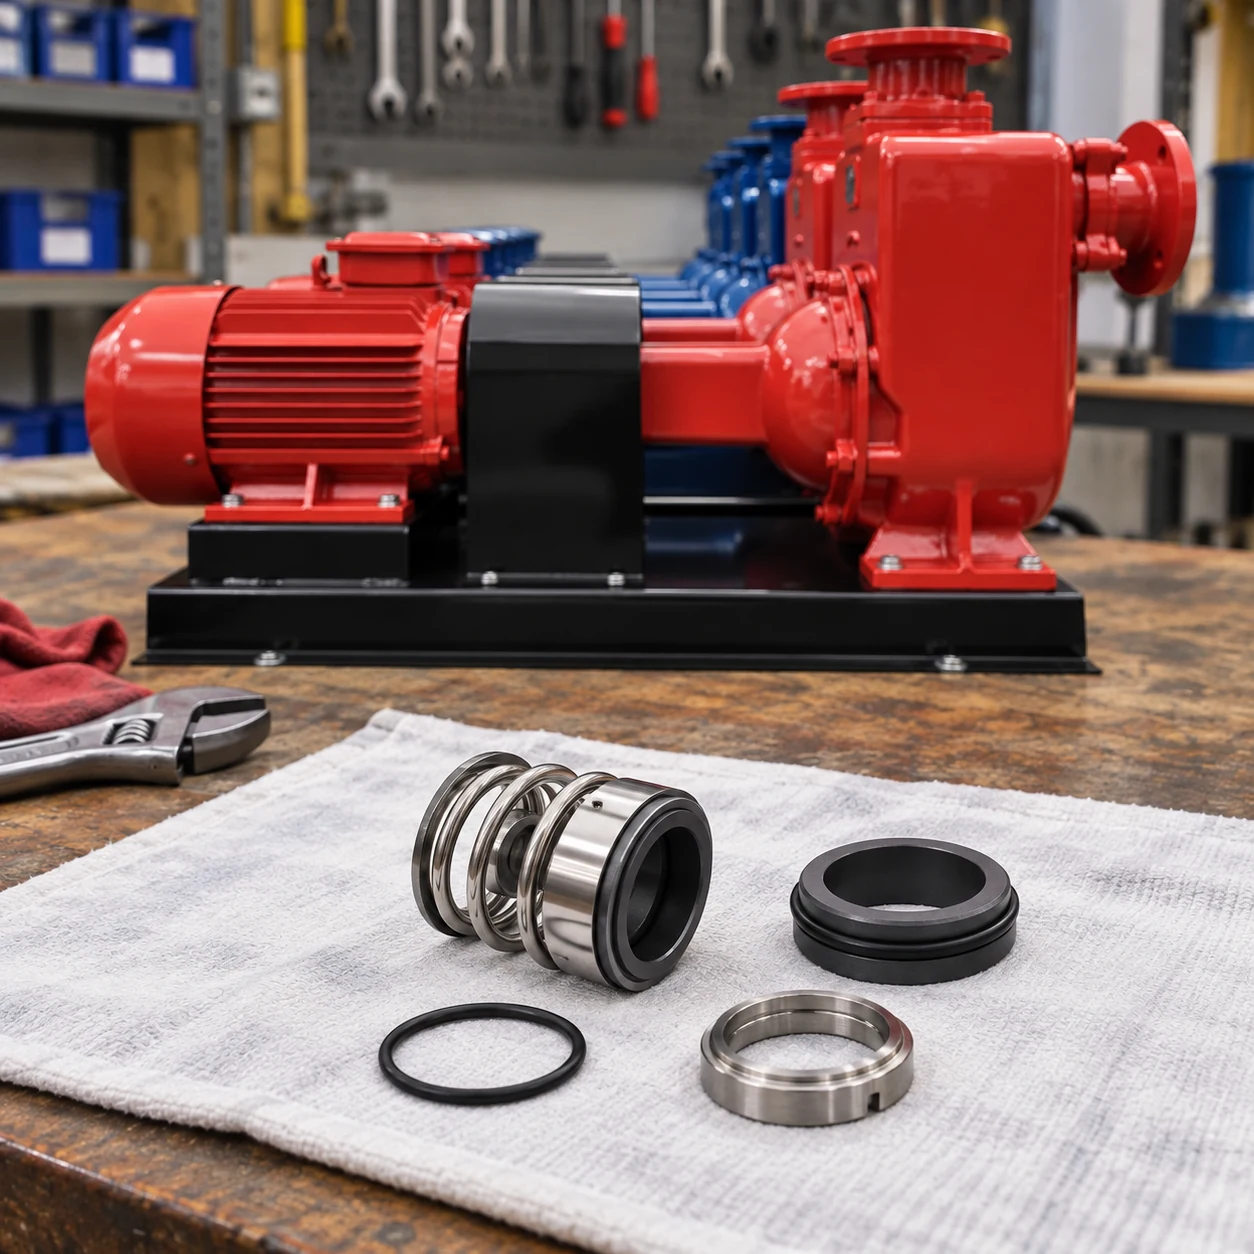
Temperature, pressure, chemical compatibility, and solids must be considered together. A corrosion-resistant material can still wear rapidly in grit, and a hard face can be vulnerable if the seal runs dry. If a seal-support line is specified, confirm it is open and clean. Do not add a homemade flush connection to a pump casing without the maker’s design approval.
Correct the cause and commission the repair
After replacing a verified failed seal, restore the suction and discharge path, fill and vent the casing as instructed, and check that the pump turns freely by the approved method. Confirm isolation valves, guards, and electrical readiness. Start under a controlled duty and observe for leakage as the pump reaches stable flow. Record priming time, suction and discharge pressure, flow if available, current, vibration, and temperature. Test the low-level or failed-prime protection that should prevent a repeat failure.
Run at representative low and normal flow, not just a brief no-flow test. Inspect again after the first operating period. The DOE maintain pumping systems tip sheet supports routine leakage, bearing, alignment, and operating checks. Record the repaired part, root cause, corrective action, and the evidence that the pump returned to service within its limits.
Prepare a useful supplier service request
Give the supplier the pump model and serial details, liquid and solids, source level, suction route, flow and head, operating hours, start count, leak timing, previous seal part number, photographs, and measurements of vibration or temperature if available. Ask whether the selected seal material and flush arrangement suit the duty and what shaft or bearing checks are required. Request an approved restart and maximum priming interval. A complete request shortens diagnosis more than a photograph of the puddle alone.
الأسئلة الشائعة
هل تحمي المضخة ذات التشغيل الذاتي من التشغيل المستمر دون مياه من ختمها الميكانيكي؟
لا. تتطلب العديد من المضخات ذات التشغيل الذاتي الاحتفاظ بالخليط في الغلاف، كما أن هناك حد أقصى لمدة التشغيل قبل الاستخدام. قد يتسبب فقدان التشغيل أو انخفاض الضغط في تلف الغطاء.
هل يمكنني استبدال الغطاء دون فحص خط الضخ؟
يمكنك استبدال الجزء التالف، ولكن تسرب الهواء أو الزائدة في الرفع أو انسداد المدخل قد يتسبب في فشل الغطاء الجديد مرة أخرى. قم بتشخيص المشكلة الأصلية.
هل يسبب التسرب دائمًا وجود مواد صلبة خشنة؟
لا. قد يتسبب التشغيل الجاف، تحريك العمود، الحرارة، تغيرات الضغط، عدم مطابقة المواد، خطأ التجميع، أو تسرب خارجي مختلف في ظهور أعراض مشابهة.
ما الذي ينبغي قياسه بعد الإصلاح؟
تسجيل زمن التحضير، ضغط السحب والتفريغ، التدفق إن وجد، التسرب، الاهتزاز، درجة الحرارة، التيار، وتشغيل أجهزة الإنذار الحماية.
التعلم المستمر
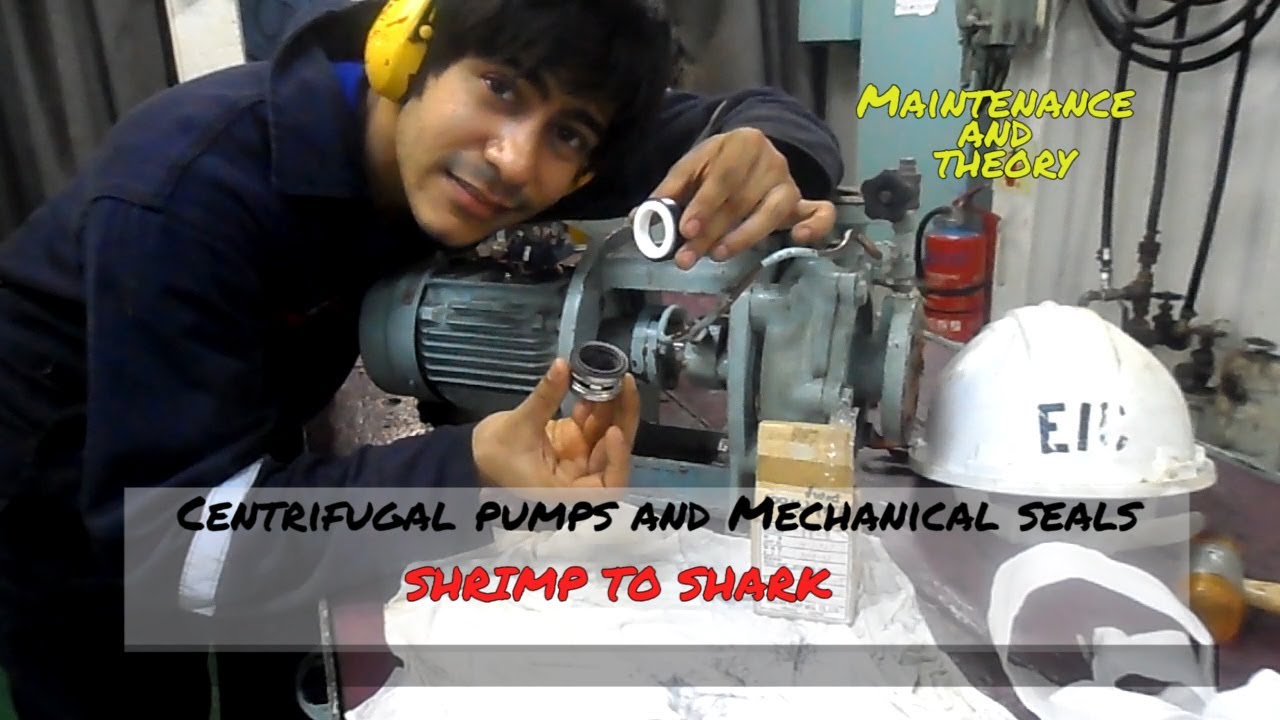
The independent educational video Centrifugal Pumps and Mechanical Seals: Maintenance and Theory by Shrimp to Shark illustrates seal service principles. The demonstrated pump is not this BorraPumps model; use the exact manual for parts and procedure.