
Pump bearing housing oil seal seat inspection focuses on the stationary surface that locates and seals the outside of the fitted oil seal. Identify the seal design first, preserve evidence of movement or leakage, inspect the housing seat and lead-in, and measure the locating geometry against the correct drawing. Replacing a seal without understanding a damaged or uncertain seat can leave the original problem unresolved. This guide separates that stationary housing assessment from inspection of the shaft running track, bearing bore and external deflector. Its workflow applies only after the actual oil-seal arrangement has been confirmed.
Identify exactly which surface is under inspection
Start with the bearing-housing drawing and seal part number. Establish how the seal outside diameter is retained and how its outer interface is intended to seal. A drawing may identify a plain cylindrical seat, a shoulder, a cover or another arrangement. Do not assume one construction from the general appearance of the pump. Record installation direction and any orientation requirement from the seal instructions before removal.
Keep the stationary housing seat distinct from the rotating shaft track. Both may contribute to leakage, but their inspection methods and acceptance criteria differ. Also distinguish the seal seat from the precision location for the rolling bearing. The separate bearing-housing bore fretting inspection guide addresses that bearing fit. Combining all nearby diameters into one “housing bore” result makes the repair record ambiguous.
Decide why the seal is being removed
Write down the trigger: leakage observed at a particular location, planned overhaul, damaged seal, contamination investigation or another documented reason. Capture the operating state when the symptom occurred. Oil seen outside a housing does not by itself identify which interface leaked. Photograph the area before wiping it down and note whether nearby joints, level devices or breathers could complicate interpretation.
Where safe access permits, collect operating observations before shutdown under the site procedure. Avoid touching or working near exposed rotating parts. Do not dismantle solely to confirm an unsupported assumption. If the housing must be opened for another reason, use that opportunity to record the seal seat condition while preserving the distinction between a planned inspection and a proven root cause.
Isolate and prepare the work area
Use the site’s maintenance authorization and isolation process. Address the driver, stored energy, hot surfaces, oil release and any other connected equipment. Verify a safe condition before removing guards or covers. Arrange a clean bench, suitable handling support and a controlled way to collect drained oil. The HSE pressure safety guidance supports planning and competent execution; it does not replace the pump’s isolation or assembly instructions.
Prepare clean packaging for the removed seal and labeled containers for unusual debris if required by the investigation. Avoid placing dismantled parts on abrasive or contaminated surfaces. Make enough space to photograph the housing bore and the seal outer surface separately. The aim is to preserve evidence while keeping dirt out of bearing and lubrication areas that will later be reassembled.
Read the as-found evidence before cleaning
Record the seal’s depth, apparent seating position and visible relationship to the housing shoulder or cover, where accessible. Photograph an uneven position rather than correcting it before documentation. Mark orientation on a sketch or label, using a method that does not damage a precision surface. Keep the removed seal available until the investigation and part selection are complete.
Inspect its outside for rubbed areas, displaced material or uneven witness marks. Compare their positions with marks in the housing, but treat the relationship as evidence to investigate rather than an automatic diagnosis. Removal can create new marks. Record the extraction method and identify any damage known to have occurred during removal so that it is not mistaken for an operating defect.
Clean without altering the seat
Choose cleaning methods that expose the housing surface without changing its size or shape. Remove residue carefully under the approved procedure and protect nearby bearing locations and oil passages. Do not use aggressive abrasive work to erase a witness mark before measuring it. A smoother-looking surface is not necessarily a correct fit, and unrecorded material removal makes the original condition impossible to reconstruct.
After cleaning, photograph the seat, lead-in and locating shoulder with consistent orientation. Distinguish residual seal coating or installation compound from housing material. If uncertainty remains, ask for a materials or repair assessment instead of scraping harder. The référentiel d’inspection de l’OISD explicitly includes the oil-seal seat among bearing-housing inspection points; it does not provide a universal fit for every seal design.
Examine the locating surface and entry path
Inspect the complete accessible circumference and working length. Look for corrosion, scratches, raised burrs, damaged edges, fretting-like marks or visible distortion. Note whether a defect crosses the intended sealing area or remains outside it. Record its position relative to a fixed datum so that another inspector can find the same location. An isolated photograph without orientation can be difficult to use during repair review.
Check the entry edge and any locating shoulder because installation damage may originate before the seal reaches its final position. Verify features against the drawing rather than improvising a larger chamfer or deeper seat. Inspect removable covers and their locating surfaces if they form part of the arrangement. A sound bore in a cover does not establish that the cover itself is located correctly on the housing.
Measure the fit as a mapped set
Use suitable calibrated equipment and a documented measuring method. Establish axial stations and circumferential directions that cover the actual locating surface. Record the units, instrument identifier and measurement conditions alongside individual readings. Where access or geometry prevents a reliable measurement, state the limitation and obtain an approved alternative method rather than replacing a measurement with a visual estimate.
Compare the results with the housing drawing and the seal manufacturer’s requirements for the identified product. Keep the bore size, geometry and surface-condition questions separate. A dimension may be within its stated range while corrosion or an unacceptable scratch remains. Likewise, a clean appearance does not establish correct roundness or axial location. Do not assume that an old seal’s measured outer diameter is a substitute for the specified housing requirement.
A practical inspection decision table
This table organizes observations. It contains no generic dimensional acceptance values and does not authorize a particular repair process.
| Découverte | Enregistrer avant de décider | Required next step |
|---|---|---|
| Scratch across the outer sealing interface | Orientation, affected length and clear photographs | Compare with the seal design and approved surface criteria |
| Corrosion or pitting in the seat | Location, extent and dimensional map after controlled cleaning | Obtain a documented reuse, repair or replacement decision |
| Seal appears displaced | As-found depth, orientation and retention detail | Verify the correct locating arrangement and installation procedure |
| cURL Too many subrequests by single Worker invocation. To configure this limit, refer to https://developers.cloudflare.com/workers/wrangler/configuration/#limits | cURL Too many subrequests by single Worker invocation. To configure this limit, refer to https://developers.cloudflare.com/workers/wrangler/configuration/#limits | cURL Too many subrequests by single Worker invocation. To configure this limit, refer to https://developers.cloudflare.com/workers/wrangler/configuration/#limits |
| cURL Too many subrequests by single Worker invocation. To configure this limit, refer to https://developers.cloudflare.com/workers/wrangler/configuration/#limits | cURL Too many subrequests by single Worker invocation. To configure this limit, refer to https://developers.cloudflare.com/workers/wrangler/configuration/#limits | cURL Too many subrequests by single Worker invocation. To configure this limit, refer to https://developers.cloudflare.com/workers/wrangler/configuration/#limits |
| cURL Too many subrequests by single Worker invocation. To configure this limit, refer to https://developers.cloudflare.com/workers/wrangler/configuration/#limits | cURL Too many subrequests by single Worker invocation. To configure this limit, refer to https://developers.cloudflare.com/workers/wrangler/configuration/#limits | cURL Too many subrequests by single Worker invocation. To configure this limit, refer to https://developers.cloudflare.com/workers/wrangler/configuration/#limits |
Separate seat damage from other leakage paths
Review the surrounding system rather than assuming the visible seat defect explains every symptom. Check the documented oil level reference and any associated level device. Review the condition of the breather and the source of external contamination where those checks are applicable. These observations can direct the investigation, but they do not justify changing oil level, removing a breather or modifying the seal arrangement without an approved instruction.
Le bearing-housing water-ingress guide addresses a different question: how contamination may reach the lubricant. The bearing deflector inspection guide deals with another adjacent component. Link their findings through the same work order while preserving separate measurements and conclusions. This prevents a replaced seal from being treated as proof that every potential leakage path has been corrected.
Specify repair work so it can be verified
A repair request should identify the exact seat, current measurements, defects, material information and required final criteria. Ask the responsible engineer or supplier to approve the proposed method. Do not instruct a workshop simply to tighten the fit, add adhesive, punch the bore or machine to a convenient replacement size. Each can change the component arrangement and needs equipment-specific justification.
For a new cover or housing, verify the complete part identity and revision. A matching seal diameter is only one requirement; locating faces, bearing relationships, fasteners and oil passages may also matter. For a restored seat, retain both the original condition and post-repair inspection results. The final record should show how the repaired surface meets the approved requirements rather than relying on a general statement that it was refurbished.
Install under the seal-specific instructions
Before installation, confirm the replacement seal identity, condition, orientation and any preparation specified by its manufacturer. Use the approved tool and loading method so the component is seated as intended. Follow the actual instruction on lubrication or installation compound; different outside constructions must not be treated as interchangeable. Protect the shaft and nearby precision surfaces during assembly.
Record the final seating position and inspect for damage before closing access. Restore guards, lubrication and associated devices through the pump’s procedure. Run the prescribed checks under controlled operating conditions, documenting whether leakage or abnormal observations remain. Do not claim the housing seat is verified solely because an immediate external leak is absent. Its inspection record and assembly checks remain part of the release evidence.
Product enquiry and maintenance continuity
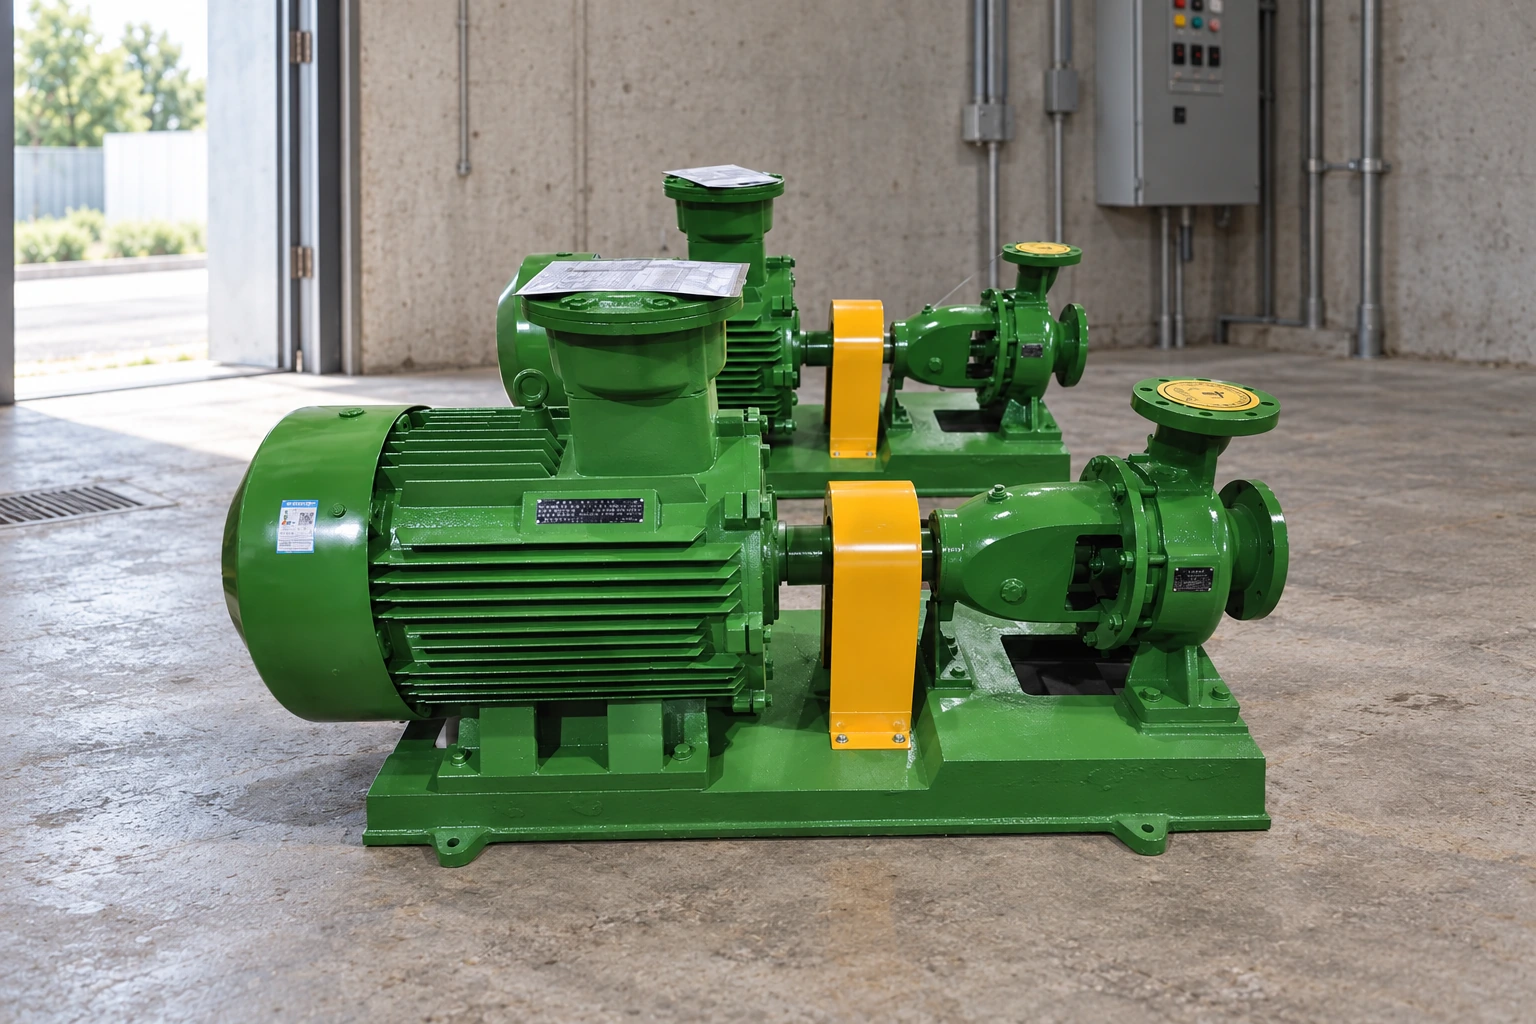
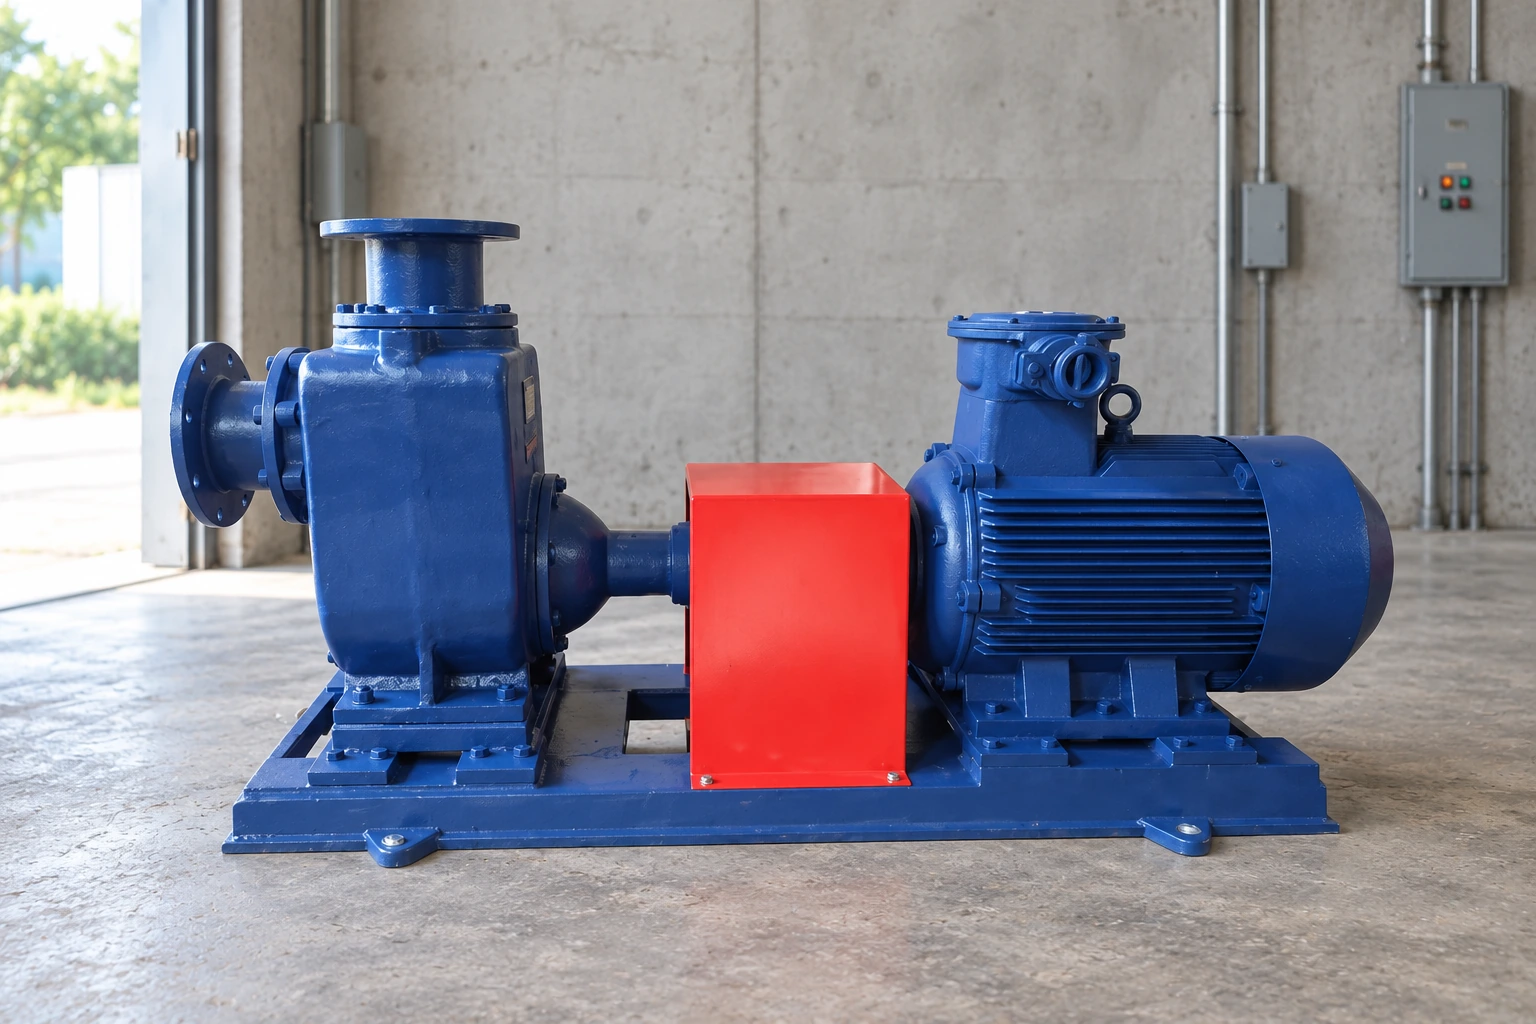
For a Borra enquiry, provide the pump serial number, bearing-housing or cover identification, old seal markings, photographs and measured seat map. The de la pompe centrifuge pour eau propre provides a product-family starting point; the supplied drawing determines the actual bearing and sealing construction. Product photographs in this article illustrate pumps, not a cutaway of the inspected seat.
Include the service environment and the event that triggered inspection. Request the specific seal or housing documentation that is missing. Clear identification helps a supplier distinguish a spare-seal enquiry from a housing-repair assessment and reduces the chance of selecting a part solely by a nominal diameter.
Formation continue
The accompanying IIT Kanpur–NPTEL lesson explains limits, fits and tolerances. Use it to understand dimensional terminology, not to obtain an oil-seal seat tolerance for the pump on the bench.

Foire aux questions
What is the oil seal seat in a pump bearing housing?
In this guide it means the stationary housing or cover surface that locates the seal’s outside. Confirm the exact construction and terminology on the supplied assembly drawing.
Is it the same as the shaft seal running surface?
No. The shaft track is a rotating mating surface. The stationary outer seat needs its own condition and fit assessment even when both are inspected during one overhaul.
Can a new seal compensate for a damaged housing seat?
Do not assume so. Assess the damage against the identified seal design and approved housing requirements before deciding whether reuse, repair or replacement is appropriate.
Should adhesive be added if the seal feels loose?
Only if an approved instruction for the actual assembly calls for it. A subjective loose fit is a reason to verify identity and dimensions, not to improvise retention.
What should the final inspection record include?
Include component identity, orientation, photographs, mapped measurements, applicable criteria, repair disposition, replacement seal details and the installation and return-to-service checks actually completed.