Vertical multistage pump seal leakage should be diagnosed from the leak’s exact origin, operating condition, and service history before a seal is replaced. Water at the motor-to-pump interface may indicate a mechanical seal problem, but moisture from a nearby flange, vent, drain, or condensation can run down the casing and look identical. A seal can fail because of dry running, contamination, heat, vibration, pressure changes, unsuitable materials, or incorrect assembly. Stop and isolate the pump when leakage exceeds the manufacturer’s allowance or creates an electrical or slip hazard. Record flow, suction and discharge pressure, run time, noise, and when the leak appears. Then correct the cause as well as the damaged part.
Confirm where the water starts
Dry the external surfaces after a safe shutdown, then observe under controlled operation from a protected position. Follow the first wet point rather than the lowest drip. Check the suction and discharge flanges, drain and vent plugs, seal chamber area, and nearby pipework. Water can track along a cable, casing rib, or baseplate before reaching the floor. A high-level tank or a leaking check valve can also wet a stationary pump. If the liquid is hot, contaminated, or hazardous, use the site’s containment and personal-protection procedure rather than touching the leak.
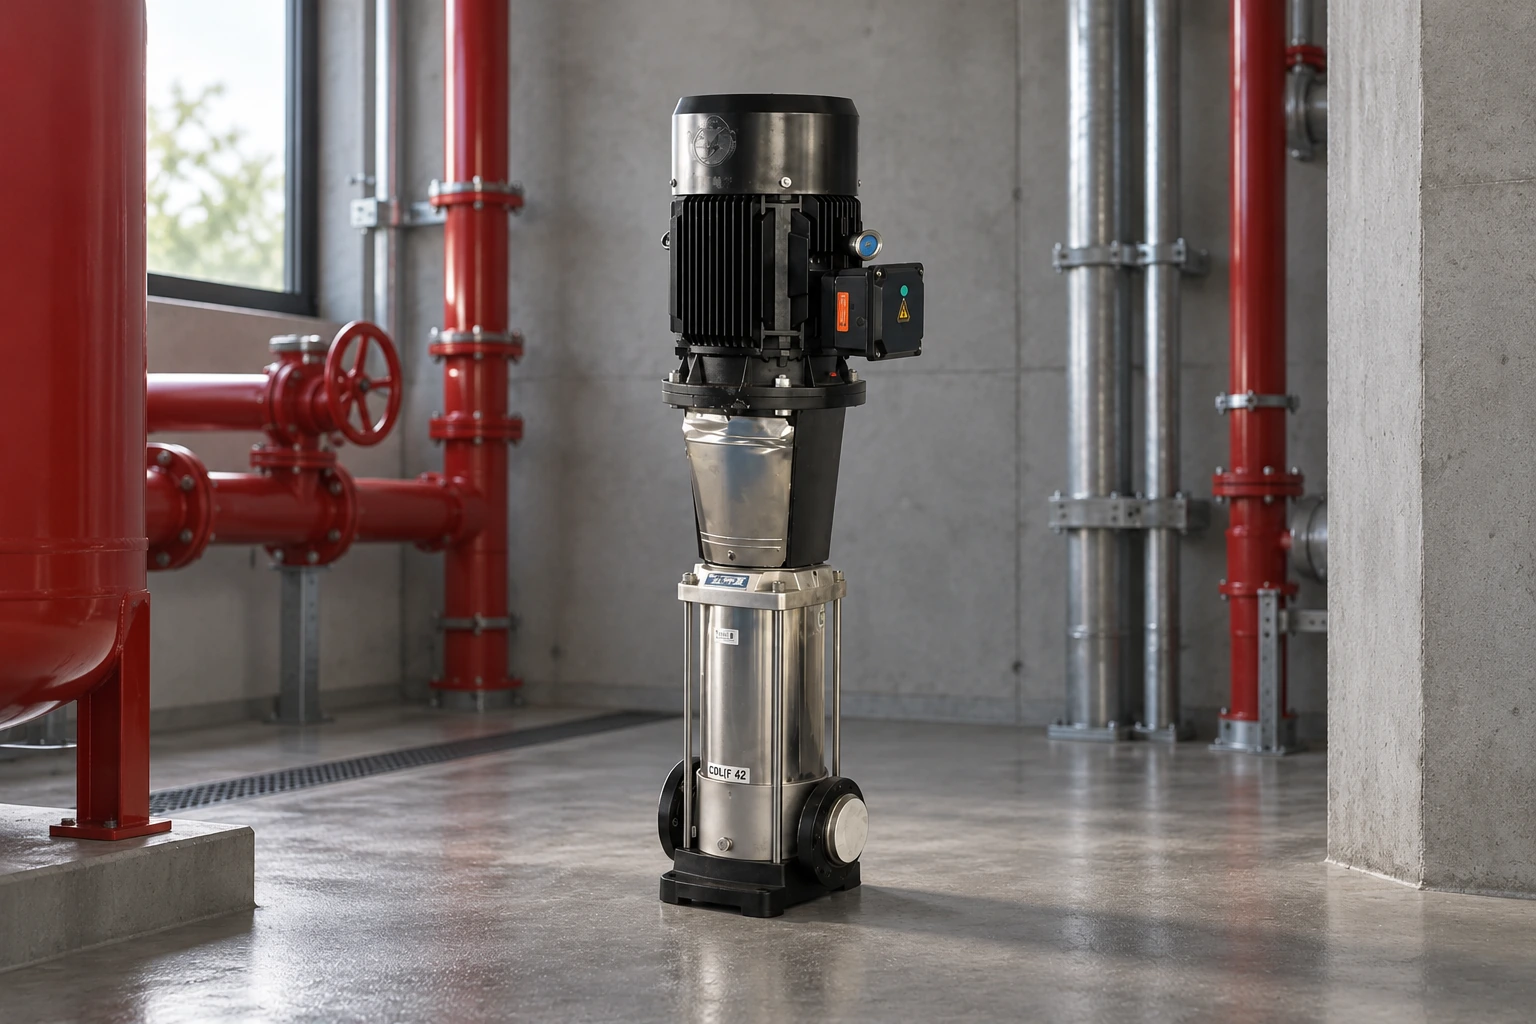
Itu Produk multistage vertikal BorraPumps CDL(F) provides a real pump reference, but the exterior photograph does not reveal the installed seal design or material. Obtain the exact model, serial details, seal drawing, and maintenance instructions. The water-supply booster product range is the broader application context. Do not assume that a generic replacement cartridge or elastomer fits every vertical multistage unit.
Make the pump safe before inspection
Lock out and verify the motor power, isolate suction and discharge, release trapped pressure, and allow hot liquid to cool. Drain into a suitable container. Some vertical pumps can retain pressure in upper chambers even after a nearby gauge reads zero, so follow the manufacturer’s venting sequence. Do not loosen a seal housing or stage tie rods on a pressurized pump. Protect adjacent equipment from accidental flooding and document valve positions before moving them.
If the pump supports a critical service, confirm the standby route and test its capacity before isolating the leaking unit. A standby pump is useful only when it can deliver the required service with the failed unit out. The two-pump versus three-pump booster article discusses defining this failure case. For a single pump, coordinate the outage with the building operator.
Common failure mechanisms
Mechanical seal faces need the correct liquid film and operating environment. Running dry, losing prime, or operating with air in the suction can remove lubrication and create heat rapidly. Contaminants can scratch faces or obstruct a flush path. Excessive temperature can affect elastomers and face materials. Vibration from cavitation, worn bearings, poor alignment, pipe strain, or operation far from the intended duty can disturb the faces. A pressure surge or repeated starts may accelerate damage even when the seal was installed correctly.
Departemen Energi Amerika Serikat buku sumber sistem pompa treats seals as normal maintenance items while warning that contamination, misalignment, and poor operating conditions can shorten life. The Hydraulic Institute’s Pertanyaan umum tentang pompa point to condition monitoring and mechanical-seal selection guidance. These are general principles; the maker’s seal specification and service procedure set the repair limits for the actual pump.
| Evidence at the pump | First checks | Likely direction |
|---|---|---|
| Leak begins immediately after start | Prime, venting, suction supply, seal installation | Stop dry operation and inspect faces before restart |
| Leak appears only at higher pressure | Flanges, seal chamber, operating pressure | Locate first wet point and compare with seal rating |
| Leak follows repeated cycling | Starts, pressure transients, vessel and controls | Correct control and hydraulic cause before replacing seal |
| Water runs down from above seal | Vent, flange, condensation, nearby pipe | Repair the actual upper source |
| Noise or vibration accompanies leakage | Bearings, alignment, cavitation, pipe strain | Diagnose mechanical and suction condition |
| New seal leaks soon after repair | Cleanliness, shaft condition, orientation, torque | Recheck procedure and damaged mating parts |
The table supports diagnosis; it does not identify a unique cause from appearance alone. Record the condition of the removed parts and compare it with the measurements collected before disassembly.
Dry running and suction problems
Check the source level, suction valves, strainer, air pockets, and any low-level protection. A vertical multistage pump in a booster system may require a positive inlet pressure; it should not be assumed to self-prime. A blocked strainer or inadequate inlet flow can lower pressure at the first stage. Air can enter through a leaking suction gasket even when there is no visible water leak. If the pump has run without adequate liquid, do not simply refill and restart repeatedly. Inspect the seal and associated components first.
Itu booster low-pressure troubleshooting guide shows how to distinguish weak inlet supply from discharge-side problems. Compare suction pressure while the pump is running, not only while it is off. Verify that the source can sustain the actual flow; a high static gauge reading can hide a poor dynamic supply.
Mechanical condition and installation
Inspect the shaft or sleeve for scoring, deposits, eccentricity, and corrosion within the manufacturer’s limits. Check bearings for noise, looseness, or heat and review vibration records. A new seal on a damaged sleeve or unstable shaft may fail quickly. Check that pipework is independently supported and does not load the pump casing. If the pump was recently moved, inspect alignment and level according to its design rather than copying a generic horizontal-pump tolerance.
Keep seal faces and elastomers clean during replacement. Do not touch lapped faces unnecessarily, mix new and old mating faces without maker approval, or reuse damaged O-rings. Follow the specified lubricant, orientation, spring compression, torque sequence, and flushing or venting method. An elastomer compatible with clean cold water may not suit another fluid or temperature. The vertical multistage efficiency guide explains how a poor operating point can affect both energy and reliability.
Separate repair from root-cause correction
Replacing a seal restores a damaged boundary; it does not remove the condition that destroyed it. If the pump cycles frequently, identify the pressure-vessel, sensor, or demand issue. If the pump vibrates, find whether the source is cavitation, pipe strain, a damaged bearing, or operation outside the recommended range. If solids or scale are present, check filtration and material suitability. If the seal was installed after a previous repair, compare the parts and procedure with the maker’s current instructions.
Document whether the failure was gradual or sudden. Photograph the leak origin and removed faces where permitted, preserve the old components for examination, and log run hours. Repeated failures in similar pumps can point to a system condition rather than a defective batch of seals. A trend in suction pressure or start count is often more informative than a single photograph of a wet casing.
Commission the repaired pump
After reassembly, confirm valve positions, fill and vent the pump, check the seal support arrangement if fitted, and turn the shaft by the approved method before energizing. Start only when the source and discharge path are ready. Observe the seal area at initial start, after temperature stabilizes, and at representative low and normal flows. Record inlet and outlet pressure, flow if available, current, vibration, temperature, and leakage against the manufacturer’s criteria.
Test the controls that should prevent recurrence: low-inlet shutdown, level alarm, pressure limit, lead/lag rotation, and restart behavior. A seal that stays dry for a few minutes at no flow has not passed a meaningful duty test. Reinspect after an initial operating period and leave a clear maintenance record so the next technician knows what changed.
What to include in a service request
Provide the exact model and seal part identification, liquid and temperature, normal and maximum pressure, suction condition, operating hours, start frequency, leak location, failure timing, vibration or noise observations, and recent maintenance. Ask whether the seal materials and flush arrangement suit the duty, whether the shaft sleeve or bearings need inspection, and which commissioning checks are mandatory. Request documented parts rather than substituting a visually similar seal.
Pertanyaan yang sering diajukan
Is every drip from the middle of a vertical pump a failed mechanical seal?
No. Water can migrate from a flange, vent, drain, condensation, or adjacent pipe. Locate the first wet point before disassembly.
Can I keep running a leaking seal?
Follow the manufacturer’s leakage allowance and site risk procedure. Stop promptly if leakage exceeds limits, reaches electrical equipment, or creates a hazard.
Why would a new seal fail quickly?
Dry operation, contamination, damaged shaft parts, vibration, pressure transients, unsuitable materials, or assembly error may remain after the replacement.
Does a seal leak prove the pump is oversized?
No. Oversizing can contribute to an unfavorable operating point, but the leak needs a separate diagnosis of hydraulics, mechanical condition, and installation.
Pembelajaran lebih lanjut
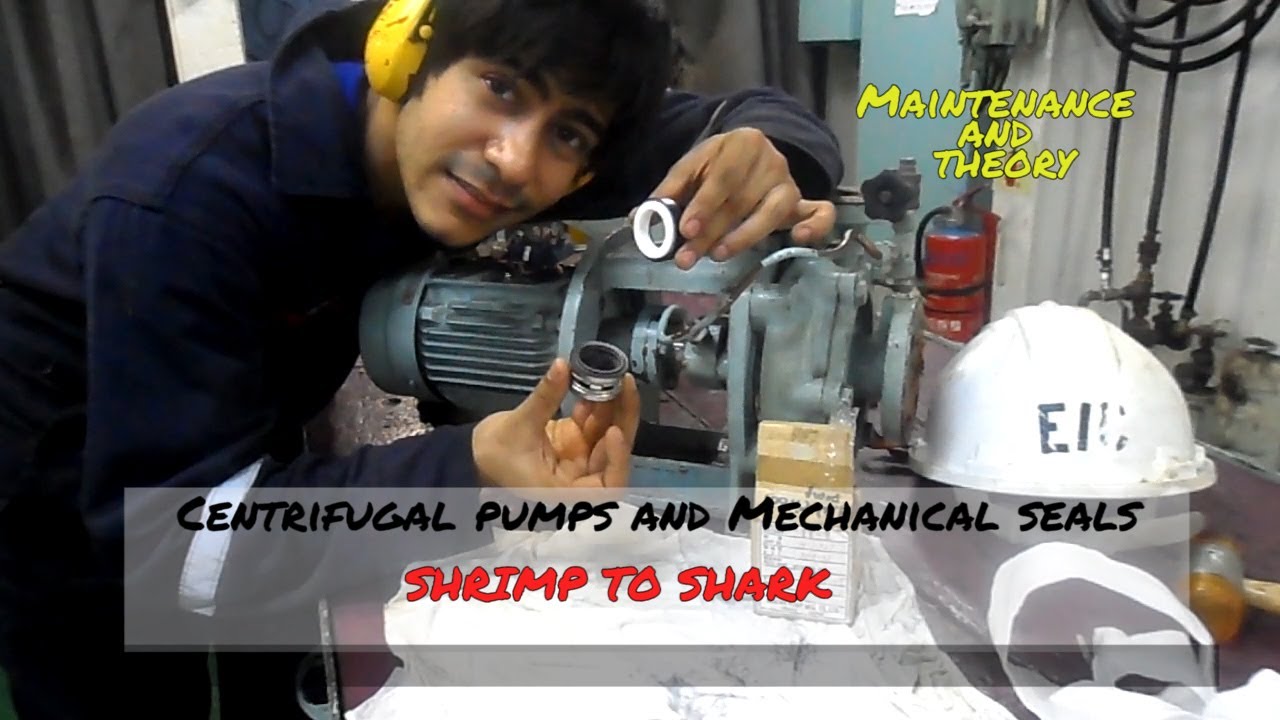
The independent educational video Centrifugal Pumps and Mechanical Seals: Maintenance and Theory by Shrimp to Shark shows seal-replacement context. The particular pump in the video is not the BorraPumps model, so use it for principles and follow the exact product manual for service.