
Pump casing drain plug inspection checks the closure, its mating opening and the specified sealing arrangement before the pump returns to service. Confirm the plug identity, examine its threads and sealing surfaces, and resolve any damaged casing connection. A plug that turns into the opening is not necessarily the correct pressure boundary component. This guide covers inspection and handover for industrial liquid pumps, rather than a universal removal or tightening procedure. Work must follow the equipment instructions and site isolation plan. Do not loosen a drain plug to discover whether an unidentified pump is still pressurized or contains hazardous liquid.
Identify the opening before touching the closure
A casing can have connections for draining, venting, priming, gauges and auxiliary services. Their appearance alone does not establish their function. Locate the opening on the assembly drawing, identify the plug or closure part number, and confirm what lies behind it. A plug near the lowest visible point may still leave trapped liquid elsewhere. Likewise, a small threaded connection might communicate with an auxiliary passage rather than the main volute.
Record the pump serial number, connection location, drawing revision and service fluid. Check whether a modification has replaced the original plug with a valve, adapter or instrument fitting. If the actual arrangement differs from the drawing, record that difference before ordering parts. Do not assume the neighbouring pump uses the same closure because the two casings look alike. Establishing identity first avoids turning an inspection into an undocumented pressure-boundary modification.
Make isolation and containment part of the job
Electrical isolation alone does not remove pressure, hot liquid, chemical exposure or liquid returning from connected piping. The maintenance plan must identify those hazards and establish a verified safe state before the drain connection is handled. Prepare a suitable collection route and disposal arrangements for the actual fluid. Access, splash direction and the possibility of trapped pockets belong in that assessment.
The HSE maintenance guidance provides UK safety context for planned maintenance and controlled energy sources. It is not an instruction for opening a specific pump. If there is uncertainty about the contents or isolation boundary, stop that part of the job and resolve it through the responsible site person. A blocked drain, an apparently empty collection container or a closed valve does not independently demonstrate that the equipment is safe to open.
Preserve the condition found during dismantling
Photograph leakage stains, deposits, corrosion and the closure position before cleaning. Record whether the plug was loose, seized, rounded or difficult to access. Keep the removed plug and its sealing component together in a labelled container. If several openings are being inspected, identify each separately so that different thread forms or lengths cannot be mixed during reassembly.
Removal damage and in-service damage can look similar afterwards. Note any tool slip, broken head or thread damage that occurred while dismantling. Do not discard fragments until the job has accounted for where they went. If a previous repair used an adapter or insert, preserve its identity and document the arrangement. These observations help a repair contractor assess the connection without relying on an unlabelled photograph taken after all evidence has been cleaned away.
Clean to inspect rather than to restore by appearance
Use a cleaning process suitable for the closure material, casing and residues. Remove deposits sufficiently to expose the thread flanks, sealing seat and head or drive feature. Avoid uncontrolled filing, grinding or chasing of threads as a preliminary cleaning step. Such work may change the dimensions before an inspector has established the original defect.
Inspect the cleaned plug for cracks, corrosion, displaced metal, torn threads and damaged engagement surfaces. Check that a socket or spanner can engage as intended without being forced over a deformed head. A bright surface is not evidence that corrosion has left adequate material. If the depth or significance of damage is uncertain, record it for a qualified assessment. Cleaning should make the acceptance decision more reliable; it should not turn an unknown component into an apparently acceptable one by removing the marks that required investigation.
Inspect the mating casing connection
Examine the entry, engaged threads, surrounding wall and sealing face of the casing opening. Look for cross-threading, damaged inserts, cracking, corrosion and remnants of old sealing material. Inspect accessible internal areas using the equipment-approved method. Do not force a replacement plug through resistance to demonstrate that the opening is usable.
A leaking connection may involve the plug, the casing or both. Replacing only the removable part can leave the underlying problem unresolved. If the casing needs an insert, machining or a different connection, obtain an approved repair disposition. Changing to a larger thread is a pressure-boundary repair decision, not routine cleaning. Related casing crack inspection addresses examination methods beyond this closure check. Keep any unresolved casing finding visible in the final report, even when a new plug has already been ordered.
| Finding | Record and follow-up | Release evidence needed |
|---|---|---|
| Unknown plug or adapter | Compare drawing, parts list and installed configuration | Confirmed component specification |
| Torn or cross-threaded engagement | Assess plug and casing together | Approved thread condition or repair |
| Damaged sealing seat | Photograph and refer for disposition | Suitable sealing surface and specified seal |
| Corrosion around the opening | Establish extent and inspection method | Accepted pressure-boundary condition |
| Residue obstructing drainage | Identify blockage and safe cleaning route | Verified clear path under the maintenance plan |
This is a qualitative inspection record. It supplies no pressure rating, tightening value or machining allowance.
Confirm how the connection actually seals
Some closures seal through a defined thread arrangement; others use a washer, gasket, O-ring or machined seat. Identify the specified system before selecting consumables. A thread sealant suitable for one connection may be inappropriate for another fluid, temperature or sealing geometry. More sealant is not a remedy for damaged engagement or a missing sealing component.
The NCAT irrigation-pump maintenance guide identifies drain and fill closures as possible air or water leak locations. That general observation explains why their condition matters. It does not authorize applying its generic service advice to every industrial pump. Use the actual equipment documentation for seal material, preparation, replacement policy and assembly method. Record the consumable identity where required, including its compatibility approval and any curing or cleanliness conditions that affect the return-to-service sequence.
Select replacement parts from a complete specification
A purchasing request should state the equipment identity, connection function, part reference, thread designation, engagement geometry, material and sealing arrangement. Provide photographs with a scale where useful, but distinguish measured information from assumptions. A nominal diameter by itself does not define the thread, sealing principle or allowable service.
Do not substitute a hardware-store plug merely because it screws into the opening. Likewise, a stainless replacement is not automatically a suitable upgrade for an unknown original. Material pairing, fluid compatibility, pressure-boundary requirements and assembly instructions still need review. The broader spare-parts identification guide explains how to assemble an equipment-based inquiry. If the drawing is missing, ask the equipment supplier to resolve the part identity before approving the order, rather than presenting a workshop measurement as a verified original specification.
Reassemble under the approved procedure
Protect the inspected opening from dirt while awaiting assembly. Account for temporary covers and cleaning materials, then install the accepted closure and specified sealing component using the prescribed method. Record any deviation that requires an engineering disposition. Do not publish or borrow a generic tightening torque as a substitute for the correct connection instruction.
The return-to-service plan should define the controlled checks for leakage, priming and normal operation appropriate to the pump. Inspection acceptance alone is not an operating test. If leakage appears, follow the safe shutdown and reassessment procedure; do not reach into an operating installation to tighten an uncertain pressure-boundary connection. Record where and under what conditions the leak was observed. This makes it possible to distinguish a closure issue from leakage at an adjacent casing joint or auxiliary fitting.
Hand over a traceable closure record
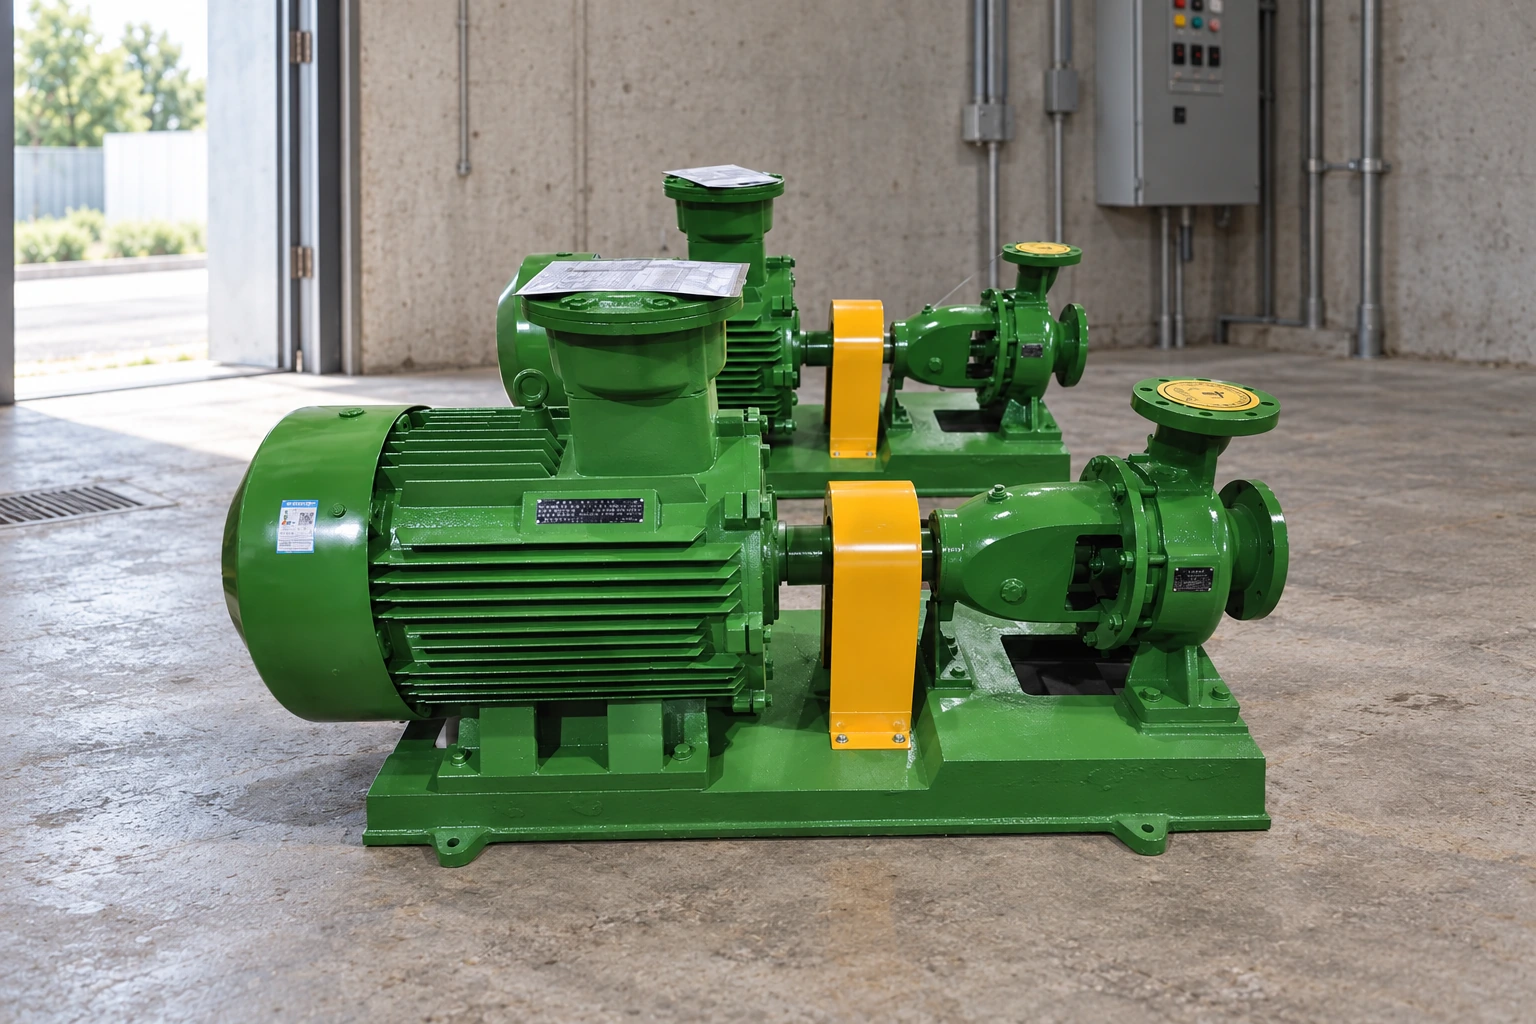
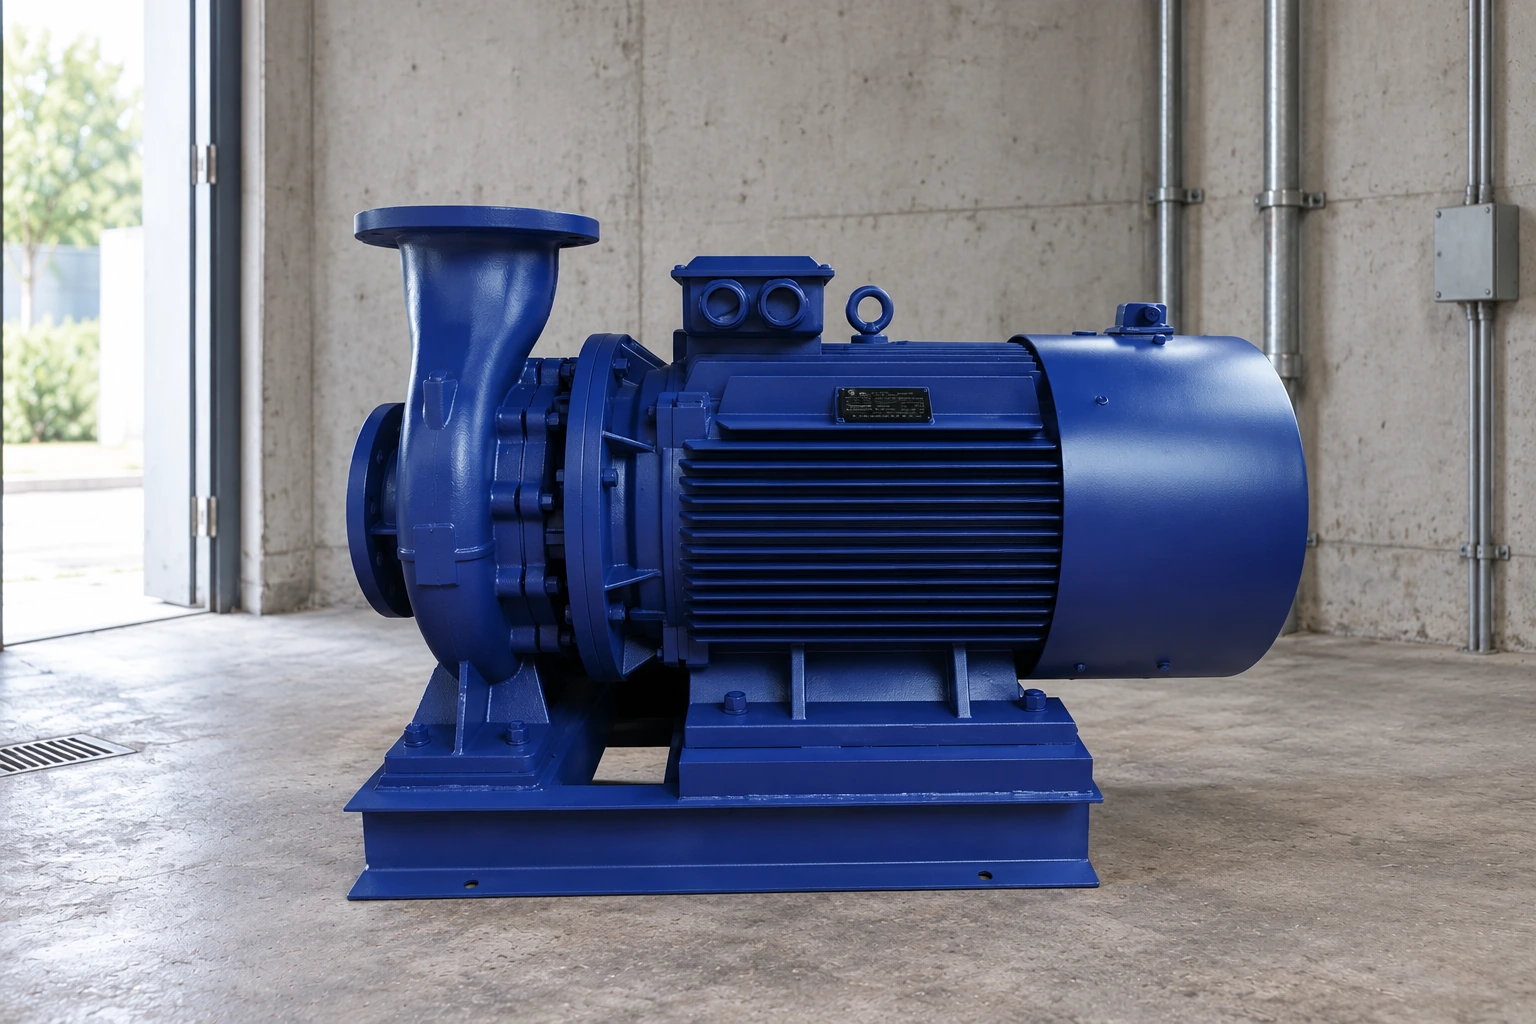
For the IS clean-water centrifugal pump family, request serial-specific documentation before assuming a drain connection specification. Product-family photographs illustrate complete equipment; they do not verify the location, thread or condition of an installed closure. This guide deliberately avoids claiming that a visible catalogue feature is a confirmed maintenance opening.
Attach the opening map, before-and-after photographs, removed-part identification, inspection findings, replacement reference and final test record to the pump maintenance inspection report. Name the person who released unresolved findings. A clear handover should tell the operator which closure was examined, what was changed and what was checked after assembly. It should also preserve any limitation, such as an inaccessible internal passage, so that “inspected” cannot be mistaken for a more extensive examination than actually occurred.
Further learning: dimensions and accepted fits
The IIT Kanpur NPTEL lesson below explains limits, fits and tolerances. It supports understanding why a nominally matching part still needs a defined dimensional requirement. It is not a pipe-thread identification lesson or permission to reuse a damaged plug. Apply the specific connection drawing to the inspection.
Frequently asked questions
Can a plug be accepted because it screws in by hand?
No. Easy engagement does not establish its material, sealing arrangement, pressure suitability or remaining condition. Confirm identity and assess both components against the applicable requirements before release.
Is a drain plug a safe pressure check?
Do not use an uncertain drain closure to establish a safe state. Follow the site’s verified isolation and depressurization procedure, accounting for fluid hazards and trapped energy before handling the connection.
Should sealant be added whenever a connection leaks?
First identify the sealing design and the cause of leakage. Damaged threads, an incorrect plug or a defective seat require an appropriate disposition. Additional sealant does not demonstrate that those defects are corrected.
Does replacing the plug complete the inspection?
The casing opening and any insert or sealing face also need assessment. Record unresolved mating-part damage separately so that a new removable component does not conceal an incomplete pressure-boundary repair.
What belongs in the spare-part inquiry?
Include equipment identification, connection location, drawing or part number, thread and sealing details, material information and labelled photographs. Mark uncertain details clearly and ask for confirmation before approving a substitute.